The best homemade bar ideas do more than place a countertop against an unfinished wall. They give a basement a clear center, create useful storage, and make the lower level feel intentional rather than improvised. In older Chicago homes, I often begin with a simple question: what should this room do when nobody is mixing a drink? A good bar can support movie nights, game days, dinner parties, or a quiet coffee in the morning without consuming the entire floor plan.
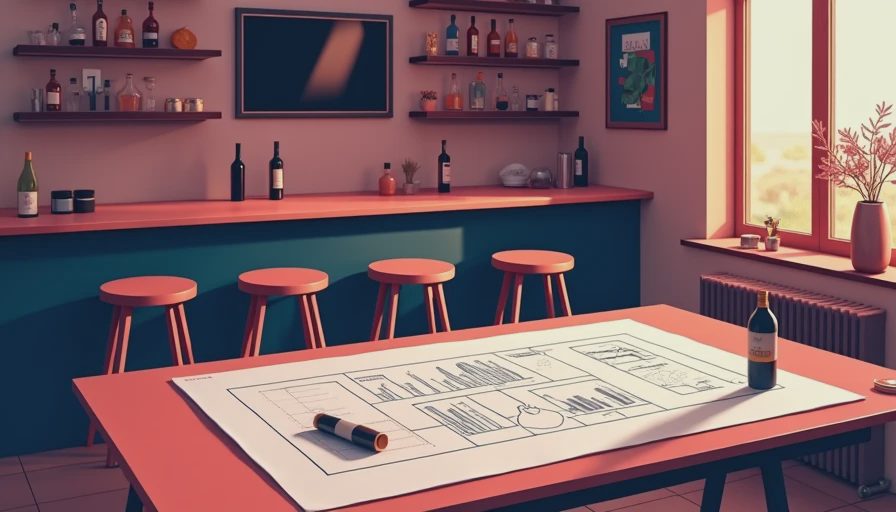
Before buying cabinets or a kegerator, measure the room. Mark the stairs, mechanical equipment, sump pump, columns, windows, and doors on graph paper. Then draw a 36-inch walking path around the proposed bar. That circulation zone is not wasted space; it is what keeps two people from colliding every time someone reaches for a glass. A 6- to 8-foot straight run is enough for a compact serving counter, while an L-shaped bar usually needs at least 8 by 8 feet to feel comfortable.
Homemade bar ideas that fit the basement layout
A straight wall bar is the most efficient starting point. Use a 24-inch-deep base cabinet run with a 12- to 14-inch counter overhang. This leaves room for bottles, a small under-counter refrigerator, and glassware without narrowing the room. If the basement doubles as a media room, place the bar behind the main seating so stools do not interrupt the sightline to the television.
An L-shaped layout works well beside a stair landing or structural column. The short return can hold a sink or prep area, while the long side faces the social zone. I prefer this arrangement when a basement has several functions because the corner creates a visual boundary without requiring a full-height wall. A peninsula can perform the same job, but allow at least 42 inches between the counter and nearby cabinets. For two people working behind the bar, 48 inches is more forgiving.
For very tight rooms, consider a dry bar with no plumbing. A 60-inch console made from oak, painted plywood, or a vintage furniture piece can provide the same visual anchor as built-in cabinetry. Add a wall-mounted shelf, concealed power for a coffee maker, and a tray for bottles. These homemade bar ideas are especially useful when you want to renovate in phases or avoid opening a finished concrete floor.
Materials that look designed, not temporary
Basements are hard on materials. Concrete slabs can transmit moisture, exterior walls can feel cold, and a minor plumbing leak can damage ordinary particleboard. For lower cabinets, specify plywood boxes or a moisture-resistant cabinet material rather than cheap fiberboard. A semi-custom line from brands such as IKEA, Semihandmade, or CliqStudios can reduce cost while still allowing a tailored counter and trim details.
For countertops, butcher block is warm and relatively approachable for a weekend build, but it needs regular sealing around a sink. Quartz is more expensive, often landing around $60 to $120 per square foot installed, but it is durable and easy to wipe clean. Soapstone suits a darker speakeasy look and develops a softer surface over time. I would avoid unfinished wood directly beside a wet sink unless you genuinely enjoy maintenance.
The wall behind the counter deserves as much attention as the counter itself. Vertical subway tile can make a low ceiling feel taller, while a slab backsplash gives a cleaner contemporary line. Painted beadboard adds character in a 1920s bungalow, but use a durable satin paint and keep it away from constant splash zones. One strong material is usually better than combining tile, brick, reclaimed wood, and metal in the same eight-foot stretch.
Lighting and storage make the bar work
Many homemade bar ideas fail because the lighting is treated as decoration instead of infrastructure. Install task lighting beneath the upper shelf or cabinets, then add one dimmable ceiling fixture or two small pendants. The countertop should be bright enough for preparing drinks, while the surrounding room can remain softer. Warm-white LED bulbs around 2700K to 3000K generally flatter wood, tile, and skin tones better than cool daylight bulbs.
Storage should follow the sequence of use. Put frequently reached glasses between waist and shoulder height. Keep mixers and openers in the top drawer, bottles in a protected lower cabinet, and backup supplies farther away. A 15-inch-wide pullout can hold tall bottles efficiently. If you install a wine refrigerator, leave the ventilation clearance required by its manufacturer; enclosing the appliance too tightly can shorten its life.
Open shelving is attractive, but it displays dust and clutter. I typically use one open shelf for the objects worth seeing and closed storage for everything else. A shallow shelf with integrated LED tape can hold glassware without making a seven-foot basement ceiling feel lower. Avoid placing shelves where people walking past the bar will bump their shoulders.
Wet bar, dry bar, or something in between?
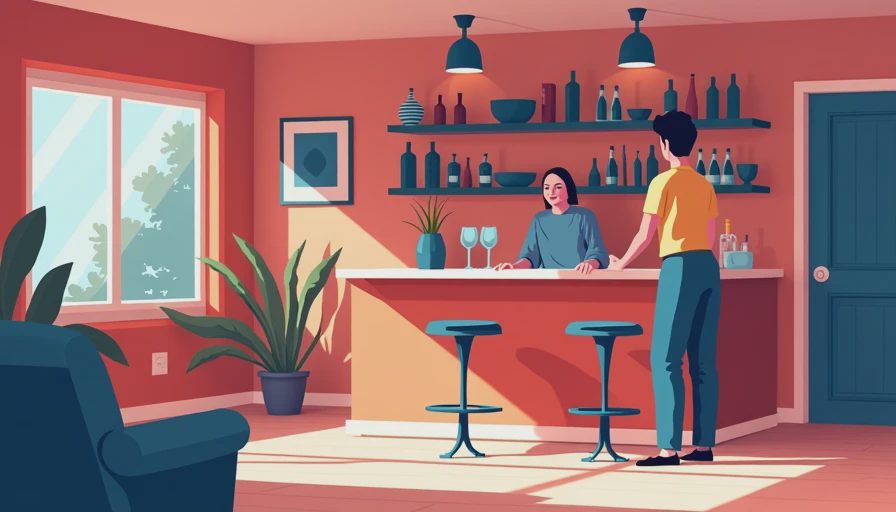
A wet bar includes a sink with a water supply and drain. It is convenient for rinsing glasses, but the plumbing cost depends heavily on the basement's existing layout. If the nearest drain is overhead or across the room, a pump system may be needed, and that can add noise and service requirements. Get the plumbing route drawn before selecting cabinets. A beautiful sink that cannot be vented or drained properly is an expensive mistake.
A dry bar can still feel complete with a compact refrigerator, ice bucket, concealed trash bin, and generous landing space. This is often the better choice for a basement used mainly for movies or board games. The middle ground is a bar with a refrigerator and removable water station, leaving the sink for a later phase. These homemade bar ideas keep the first project manageable while preserving a clear upgrade path.
Electrical planning matters as much as plumbing. Provide dedicated circuits where required for refrigeration, lighting, and entertainment equipment. Put outlets behind appliances rather than directly above the sink, and use licensed trades for electrical and plumbing work. In a finished basement, the cost of moving one outlet can be far higher than placing it correctly during framing.
Budget homemade bar ideas for a phased build
A practical basement bar can begin at roughly $2,000 to $4,000 for a simple furniture-based dry bar with a counter, lighting, and storage. A built-in dry bar with custom trim and an under-counter refrigerator often falls between $5,000 and $10,000. Adding a sink, new plumbing, stone, and electrical work can push the project beyond $12,000. Those are planning ranges, not bids, but they help establish priorities before demolition starts.
Spend first on location, lighting, and durable storage. Decorative hardware can change later for a few hundred dollars. So can a backsplash. Moving a drain, replacing a damaged floor, or rebuilding cabinets because the aisle is too narrow is much more expensive. A sensible first phase might include framing, electrical rough-in, base cabinets, a temporary butcher-block top, and finished flooring. The second phase can add a sink, upgraded counter, glass doors, or a beverage refrigerator.
One of my favorite homemade bar ideas is to design the cabinet wall as a future room divider. The back can face a pool table or theater seating, while the bar side handles entertaining. With finished panels on both exposed sides, the unit works from either direction and earns more square footage than a single-purpose counter. That is the kind of planning that makes a basement feel like another part of the house.
A final design check before construction
Stand in the proposed location with a roll of painter's tape. Mark the counter edge, stool positions, refrigerator door swing, and the walking route to the stairs. Sit on a stool and look toward the television or conversation area. Open every imaginary cabinet. If a person standing at the sink blocks the only path through the room, redraw the layout now.
Then check ceiling height, moisture conditions, ventilation, and local permit requirements. A basement bar does not need restaurant equipment or a dramatic neon sign. It needs a comfortable reach, useful storage, honest materials, and lighting that can shift from practical to relaxed. The strongest homemade bar ideas respect the constraints of the lower level instead of pretending those constraints do not exist.
Draw the plan before you shop, build the infrastructure before the finishes, and let the bar serve more than one purpose. With that sequence, even a basement with low ceilings and exposed masonry can become a room people choose to use rather than a room they simply pass through.


No notes yet — write the first one.