A finished basement is only as good as the structure holding it up. Before you draw a media room, guest suite, or home office, foundation repair should be the first item on the plan. In older Chicago homes, I often find that a homeowner has chosen flooring and paint colors before asking the more important question: why is water entering, or why is that wall moving?
That is not a criticism. Basement design is exciting because the potential is easy to imagine. The less exciting structural work is also the work that protects every future finish. A new drywall ceiling cannot correct a bowing foundation wall, and luxury vinyl plank will not stop groundwater from reaching the slab.
Start by identifying the actual problem
Not every basement crack requires the same response. A thin, vertical crack in poured concrete can result from normal shrinkage as the concrete cures. A horizontal crack, especially one accompanied by inward bowing, deserves faster attention because soil pressure can be pushing against the wall. Stair-step cracking in masonry block can indicate movement through the mortar joints.
Water adds another layer. Dampness may come from grading that slopes toward the house, a blocked gutter, a failed downspout extension, hydrostatic pressure beneath the slab, or a crack in the wall. Each source calls for a different solution. Sealing the visible line without correcting the water path is often an expensive cosmetic gesture.
During an initial walk-through, I photograph cracks, measure their width, check whether doors and windows sit square, and look for efflorescence. That white, powdery residue is a sign that moisture has traveled through masonry and left minerals behind. I also inspect the rim joist, floor drains, sump basin, and utility penetrations. The goal is to draw the water and load paths before anyone starts framing.

What foundation repair methods actually do
The right foundation repair method depends on the material, movement, water source, and access around the house. Epoxy injection can bond a stable crack in poured concrete, while polyurethane injection is often used where some moisture movement is expected. Neither product is a universal answer for a wall that is actively shifting.
For bowing walls, a contractor may recommend carbon-fiber straps, steel braces, wall anchors, or helical tiebacks. Carbon fiber is relatively unobtrusive and can work well for limited movement. Steel systems provide more visible support and may be appropriate for greater deflection. Wall anchors and tiebacks extend into the surrounding soil, so they require an engineer's review, excavation, or an agreement about access to neighboring property.
Water management can include exterior excavation and membrane installation, interior drainage channels, a sump pump, or a combination. Exterior work addresses the wall from the outside but can cost several thousand dollars per side because of excavation, landscaping, and masonry restoration. Interior drainage is often less disruptive and can be a practical phased solution, though it manages water after it reaches the basement perimeter.
The key is matching the repair to the failure. A $700 crack injection is not a substitute for structural stabilization, and a $15,000 excavation may be unnecessary when a downspout is discharging beside the wall. Get a written scope that explains the observed condition, proposed method, warranty, drainage destination, and any engineering requirements.
A realistic budget and sequence
Foundation repair pricing varies with access, depth, soil, wall length, and the seriousness of movement. Small crack injections can cost several hundred dollars per crack. Interior drainage and sump work commonly reach several thousand dollars, while exterior excavation or significant structural reinforcement can move into the $10,000 to $30,000 range. Those are planning ranges, not a substitute for site-specific bids.
I recommend separating the budget into three columns: structural stabilization, water control, and basement restoration. This makes the decision clearer. For example, a homeowner might spend $8,000 on wall reinforcement, $6,000 on drainage, and $2,000 on masonry or slab restoration before considering finishes. Another basement might need only gutter corrections and a $900 repair at one stable crack.
Do not order flooring until the repair has had time to demonstrate that the space is dry. After foundation repair, monitor the basement through a period of heavy rain and seasonal temperature changes. Run a dehumidifier, check the sump pump, and photograph repaired areas. A moisture meter can help reveal dampness behind stored materials, but it does not replace professional diagnosis.
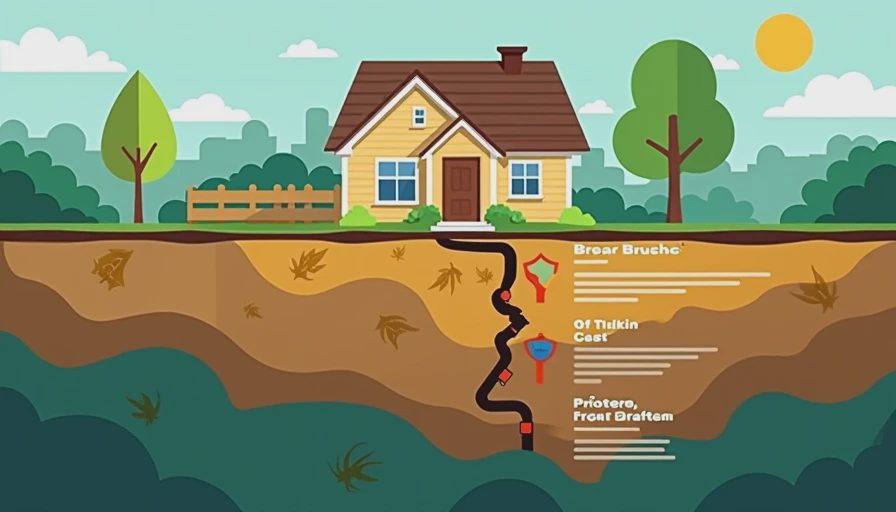
Design around the repaired structure
A structural repair does not have to ruin the basement plan. It may actually clarify it. A row of carbon-fiber straps can disappear behind a finished wall, provided the assembly is designed with the manufacturer's required clearance. Steel braces may create a useful service zone for shelving, a shallow bookcase, or a mechanical chase. Interior drainage channels can influence where partitions and flooring transitions belong.
I like to draw the basement in layers. First comes the structural shell: walls, columns, stairs, slab, windows, and utilities. Next comes the dry zone: insulation, vapor control where appropriate, drainage access, and mechanical service space. Only then do I place rooms. This order prevents a common mistake: laying out a perfect theater and discovering that the only accessible sump pump sits behind the screen wall.
A 7-foot basement can still feel intentional. Use low-profile LED lighting, a clean ceiling strategy, and furniture scaled to the room. Keep plumbing access visible where future service is likely. If a repaired wall has a noticeable brace, make it part of the architecture with painted plywood shelving or a continuous slatted panel instead of pretending the obstruction is not there.
When a phased basement makes more sense
You do not need to finish the whole basement immediately after foundation repair. In fact, phasing can protect both the budget and the design. Phase one might stabilize the wall, improve drainage, and create a clean utility area. Phase two could add insulation, electrical rough-in, and a finished floor in the most usable zone. Phase three might bring the home theater, wet bar, guest room, or gym.
A phased plan also gives you information. You learn how the basement behaves through a winter thaw, discover whether storage remains accessible, and see how the family actually uses the open space. I have seen homeowners begin with a simple office and exercise corner, then add a built-in media wall after living with the room for a year.
Foundation repair should remain accessible in every phase. Leave removable panels near cleanouts, shutoffs, pumps, and inspection points. Avoid permanent cabinetry over a sump basin. Keep electrical equipment above areas vulnerable to flooding and use flooring that can tolerate occasional maintenance work. Good design is not just about the finished photograph; it is about the next ten years of ownership.
Questions to ask before signing
Ask whether the contractor has documented the movement with photographs and measurements. Ask if a structural engineer is needed, what permits apply, and whether the proposed warranty covers recurrence or only the repair material. Confirm who handles excavation, landscaping, concrete replacement, debris removal, and interior patching.
Then ask how the work affects your future basement. Where will a brace sit? How much wall depth will the drainage system consume? Can insulation be installed over the repair? Where should the sump discharge? These questions connect foundation repair to the room you actually want to build.
Once the structure is stable and water is controlled, the design work becomes much more predictable. You can place walls with confidence, choose finishes based on real conditions, and spend money on the features that make the lower level feel like another part of the home. Begin with a clear assessment, draw the repair into the plan, and let the basement earn its square footage one sound decision at a time.





No notes yet — write the first one.