Garage shelf design is rarely just a question of where to put plastic bins. In a basement, shelving affects circulation, moisture control, lighting, workshop safety, and whether the room can eventually serve another purpose. I have seen homeowners lose an entire wall to improvised storage, then discover that a carefully measured system could have left room for a desk, freezer, or exercise bike. Draw the wall before buying the shelves. The drawing is where the useful square footage appears.
Start with the basement wall, not the shelving catalog
The first measurement is not the total length of the wall. It is the distance from the wall to the nearest obstruction: a furnace, water heater, sump pump, duct chase, stair landing, or door swing. In an older Chicago basement, that distance can change every few feet. Mark each obstruction on graph paper, then note outlet locations, ceiling height, pipes, and any evidence of past moisture.
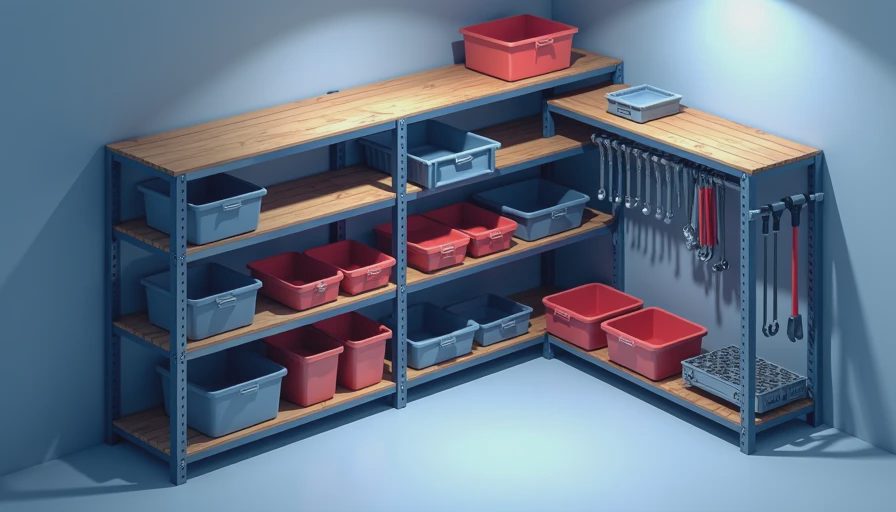
A practical storage shelf is usually 16 to 24 inches deep. Twenty-four inches holds large totes, tool cases, and small appliances, but it can make a narrow room feel like a hallway. Sixteen to eighteen inches works better for paint, household supplies, folded camping equipment, and labeled pantry bins. Leave at least 36 inches of clear walking space in front of the shelves; 42 inches feels substantially better when two people use the room together.
For a basement that may later become a media room or office, I prefer one concentrated storage wall rather than scattered cabinets. A 12-foot wall with 20-inch-deep shelves uses about 20 square feet of floor area while preserving the rest of the room as flexible space. That is the basic spatial logic behind good garage shelf design.
Choose a frame that tolerates real basement conditions
Wire shelving is inexpensive, ventilated, and easy to adjust. Products from brands such as Seville Classics, Muscle Rack, and Husky often work well for bins and cleaning supplies. The open construction allows air to move around stored items, which matters in a basement where a solid cabinet can hide condensation or a small leak. Wire is less pleasant for small hardware because screws and parts can fall through the gaps, so add plywood or heavy plastic shelf liners where needed.
Boltless steel shelving carries heavier loads and gives a workshop a more deliberate appearance. Look for a rated capacity appropriate to the complete shelf, not just an attractive marketing number for one level. A shelf holding paint, tile, automotive fluids, or cast-iron tools becomes surprisingly heavy. Keep dense items low, anchor tall units to framing or masonry where the manufacturer allows it, and avoid placing shelves directly against a damp wall.
Wood shelving can be the warmest-looking option, especially if the basement is becoming a library, craft room, or finished laundry area. Three-quarter-inch plywood is stronger and more stable than particleboard, while sealed pine is economical for lighter loads. Paint the cut edges, raise the bottom shelf several inches above the floor, and use galvanized or stainless fasteners in areas with higher humidity.
Make garage shelf design serve more than storage
The best basement plans give one wall multiple jobs. A 24-inch-deep lower run can hold bins and a shop vacuum, while a 12-inch-deep upper run stores books, labeled boxes, or seasonal decorations. Between them, install a 30- to 36-inch-high work surface. It can be a repair bench on Saturday, a wrapping station in December, and a homework or craft desk during the week.
This layered arrangement prevents the familiar mistake of filling every vertical inch with containers. Leave a clear section of wall above the worktop for task lighting, a pegboard, or a calendar. If the room has only 7-foot ceilings, stopping the upper shelves 8 to 12 inches below the ceiling keeps the top edge accessible and reduces the tunnel effect. A small folding step stool is more useful than a permanent ladder taking up floor area.
Color and labeling also affect how large the basement feels. Light gray shelves against a painted masonry wall recede more than black metal in a low-ceiling room. Use matching bins, large printed labels, and one category per shelf. The goal is not a showroom; it is being able to find the extension cord in thirty seconds.
Plan around utilities and future rooms
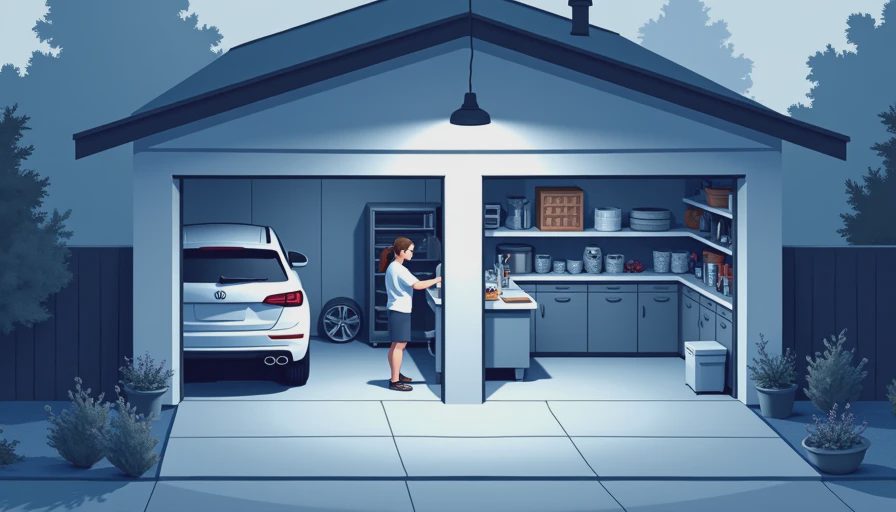
A storage wall should never block the service clearance required around a furnace, electrical panel, water shutoff, or water heater. In many installations, the necessary clearance depends on local code and the equipment manufacturer, so treat those zones as permanently reserved. Build shelves beside them, not in front of them. A removable shelf is not a substitute for genuine access when a technician needs to work.
This is also where garage shelf design becomes part of a larger basement plan. If you hope to add a bathroom later, keep plumbing routes visible or preserve a service chase. If the far end of the basement could become a guest room, do not let seasonal storage creep across the future egress path. I often draw a faint rectangle on the floor plan labeled “future room” and protect it from permanent shelving. Phasing the project is easier when the first improvement does not make the second one expensive.
For moisture-prone basements, inspect after heavy rain before committing to built-ins. Repair seepage, improve drainage, or use a dehumidifier before storing fabric, paper, and electronics. Shelving solves organization; it does not solve water intrusion.
Budget the project in useful layers
A basic freestanding setup can cost roughly $150 to $400 for a modest wall, depending on width, load rating, and whether bins are included. A heavier steel system with workbench components commonly reaches $500 to $1,200. Custom plywood cabinets, finished countertops, lighting, and electrical work can push a complete storage wall above $2,000, but that investment is reasonable when the wall becomes part of a workshop or finished multipurpose room.
Start with the structure, then add containers, lighting, and refinements. Spending $300 on attractive bins before confirming shelf dimensions usually creates waste. Measure the largest items first: a snow blower, folding stroller, shop vacuum, cooler, or file box. Buy containers that fit the shelf depth rather than forcing the shelves to match a collection of mismatched tubs.
Lighting deserves its own line in the budget. A $25 to $60 LED shop light or under-shelf strip can make a deep storage wall safer and easier to use. Put a switch near the entry, and avoid relying on a single bare bulb in the center of the ceiling.
A simple garage shelf design sequence
Begin by emptying the wall completely and sorting everything into keep, relocate, donate, and discard groups. Then photograph the exposed wall, measure it in several places, and mark utilities with painter’s tape. Draw the shelf depth, walking path, door swing, and reserved service zones to scale. If the path drops below 36 inches, reduce depth before reducing access.
Next, choose the heaviest item and design upward from it. Place dense equipment at floor level or on the lowest shelf, lighter seasonal items above, and frequently used supplies between waist and shoulder height. Anchor the frame, add liners or plywood surfaces, install lighting, and label containers only after the layout has survived a few weeks of real use.
That sequence produces garage shelf design with a longer life because it begins with the basement’s architecture, not a pile of products. More importantly, it keeps storage from taking over the room. Your lower level can still become a workshop today, a home gym next year, or a finished office later without rebuilding the entire wall.


No notes yet — write the first one.