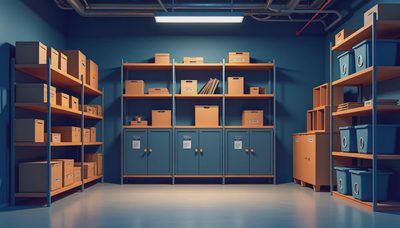
Diy wall storage is one of the fastest ways to make an unfinished basement feel intentional. In older Chicago homes, I often see the same problem: a narrow path through bins, folding chairs leaning against the furnace, and tools scattered across a workbench. The walls are doing nothing while the floor carries every burden. A well-drawn storage wall can return several square feet to the room, protect equipment from damp concrete, and make the basement useful for more than seasonal overflow.
The important word is drawn. Before buying plywood or a rail system, measure the room, mark doors and mechanical equipment, and decide what must remain accessible. Storage is architecture at a small scale. It changes circulation, sight lines, and the way a basement supports the rooms above.
Start with the basement’s actual constraints
Measure the clear wall length, ceiling height, electrical outlets, plumbing cleanouts, windows, and access panels. Then note anything that needs service clearance. A water heater should not disappear behind a permanent cabinet, and a sump pump needs a path for maintenance. In a basement with a 7-foot ceiling, an 84-inch-tall unit can make the room feel compressed, so I usually stop upper storage at 72 to 78 inches and leave a visible band above it.
Depth matters just as much. Twelve inches is enough for labeled storage tubs, paint cans, and paper goods. Eighteen inches handles larger bins and folded chairs. Twenty-four inches is comfortable for a workbench but too deep for a passage beside the stairs. A simple floor plan on graph paper will reveal whether your idea improves the room or creates a new obstacle.
For diy wall storage, use a consistent datum: one line that sets the height of shelves, cabinets, or pegboard across the wall. That small discipline makes separate components look like one designed installation.
Choose a system that matches what you own
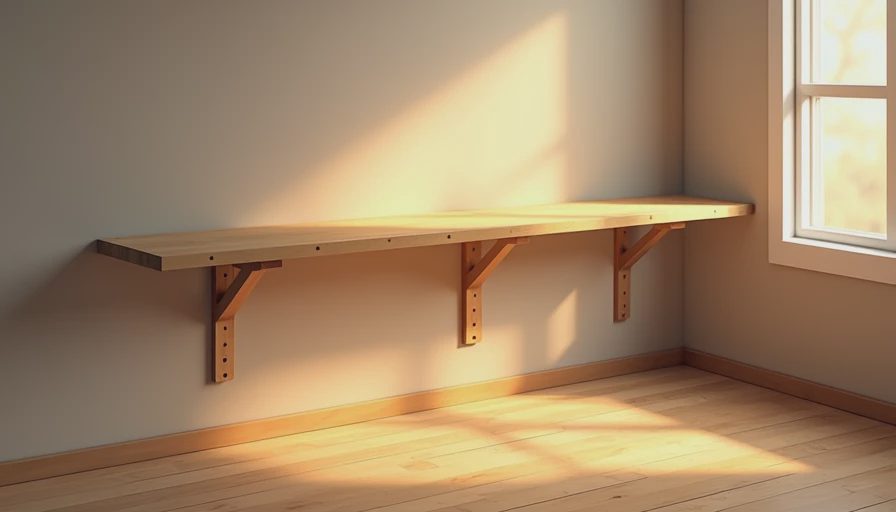
Open shelves are the most flexible and usually the least expensive. Three-quarter-inch plywood shelves spanning 32 to 36 inches between supports can carry household bins without excessive sag. Paint the plywood, edge it with solid wood, or leave the layers visible if you like a workshop character. A pair of heavy-duty steel brackets generally costs less than a full cabinet and can be replaced independently.
For tools, bikes, garden equipment, and sports gear, a French cleat wall is more useful than fixed shelves. It is made from beveled strips of plywood attached horizontally to wall studs. Cleated boxes, hooks, and holders can be lifted off and rearranged as your needs change. Gladiator and Rubbermaid FastTrack offer commercial versions with compatible hooks, while a homemade cleat gives you greater control over width and spacing.
Cabinetry is best for visual calm. Use it for cleaning supplies, craft materials, or the overflow from a kitchen pantry. Stock wall cabinets from IKEA or a home improvement store can be economical, but secure them through the back into framing. Do not rely on drywall anchors for a cabinet loaded with glass jars or power tools.
Build around the structure, not against it
Older basements rarely have perfectly flat walls. Masonry may bow, mortar joints may project, and exposed pipes may run at inconvenient heights. Rather than forcing a cabinet against those conditions, build a shallow independent frame from 2x4 lumber or metal track. Shim it to a straight plane, then attach plywood, shelves, or cabinet boxes to that plane.
If the wall is concrete block, do not assume every joint can hold a heavy fastener. Tapcon screws work well for many light and medium-duty applications when installed correctly, but substantial loads should transfer to a framed wall or properly engineered anchors. Where moisture is a concern, keep plywood and MDF off the slab and use plastic feet, treated sleepers, or a small masonry curb.
This is also where diy wall storage can solve a basement comfort problem. A framed storage wall can conceal insulation irregularities and wiring while creating a service cavity. It should not hide an active leak. Repair water entry first; shelves only make the diagnosis harder later.
Make one wall serve three basement functions
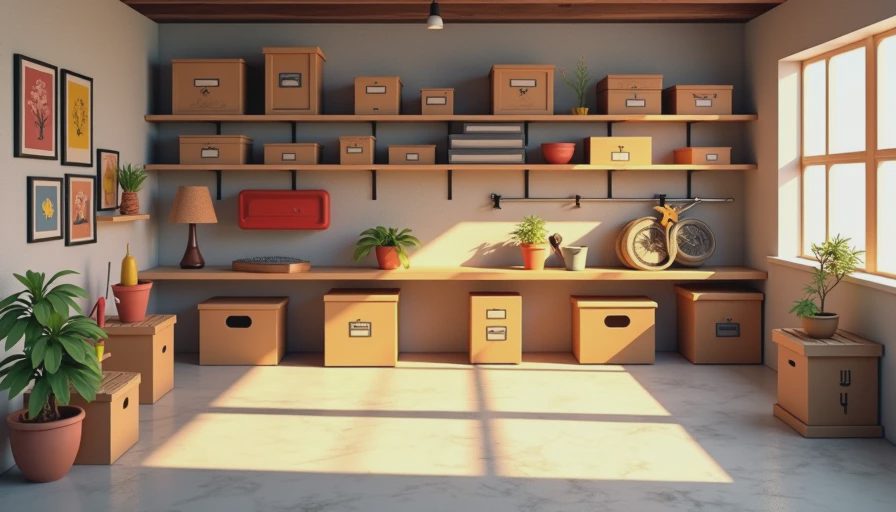
A good basement often needs to be a storage room, workshop, and guest or recreation space at different times. The answer is not filling every wall with cabinets. Concentrate the deep storage on one side and keep the opposite side visually quiet. A 16-foot wall can hold 12 feet of cabinets and leave a four-foot section for a folding table, exercise mat, or movable chair.
In a media room, low cabinets below 30 inches can store board games, controllers, and blankets without competing with the screen. In a play zone, use lidded bins between 18 and 24 inches high so a child can reach them without climbing. In a laundry area, reserve a narrow shelf above the machines for detergent but keep the front edge away from the door swing.
Diy wall storage should support a change of use, not lock the room into one identity. Casters, folding surfaces, labeled bins, and removable hooks are inexpensive forms of flexibility. They also make the basement easier to reorganize when a home office becomes a guest room.
Finish the installation so it belongs in the room
Raw storage can make a finished basement feel temporary. A single color across shelves and wall framing creates visual order; warm white works in a utility room, while charcoal, muted blue, or natural birch can suit a workshop or media space. Use a durable satin paint on plywood and allow each coat to dry fully before loading shelves.
Lighting deserves equal attention. A ceiling fixture may illuminate the center of the room while leaving the storage wall dark. Add an LED strip beneath shelves or a plug-in linear fixture above the work surface. Choose a high color-rendering light near a workbench so wire colors, labels, and finishes are easy to distinguish. Keep cords secured and away from damp floors.
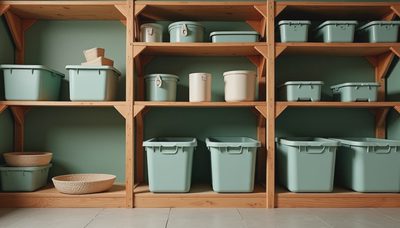
For basement diy wall storage, label the contents before the final installation is complete. A cabinet that looks tidy on day one becomes frustrating when no one knows where extension cords or holiday lights belong. Clear bins, broad category labels, and a small empty shelf for new items are more effective than packing every inch.
A practical phased budget
A basic open-shelf wall can begin around $150 to $300 for framing lumber, plywood, brackets, fasteners, and paint, depending on its length. A larger cleat system with hooks and specialized holders often lands between $300 and $700. Stock cabinets, countertop material, and lighting can push a finished storage wall to $900 or more, especially when the wall needs leveling or electrical work.
Phase one should solve the most visible obstruction: perhaps bins blocking the stairs or tools occupying the laundry counter. Phase two can add closed cabinets, better lighting, and a worktop. This approach lets you test the arrangement for a month before committing to a full run of cabinetry. It also protects the renovation budget for moisture control, insulation, or flooring, which usually has a greater effect on comfort.
The best diy wall storage is not the system with the most compartments. It is the one that leaves a clear walking route, keeps heavy items low, preserves access to mechanical equipment, and makes the basement easier to use tomorrow. Draw the wall first, build only what the plan can justify, and let the room earn its square footage.


No notes yet — write the first one.