The best workshop shelf ideas begin with a measured wall, not a shopping cart. In an unfinished basement, storage has to work around low ceilings, masonry walls, ductwork, moisture, and the occasional furnace service visit. A useful shelf system can still make a 10-by-12-foot room feel deliberate rather than crowded. I approach these projects as small architectural layouts: decide what belongs on the wall, what needs a work surface, and what must remain accessible from the floor.
Before buying plywood or metal brackets, draw the room on graph paper. Mark outlets, windows, foundation columns, doors, and the path to the stairs. Then note the largest objects you actually use, such as a shop vacuum, miter saw, compressor, or rolling tool chest. A shelf that blocks the only route to the electrical panel is not storage; it is a future inconvenience. Leave at least 36 inches for a comfortable passage and more where you expect to carry long boards.
Workshop shelf ideas that fit a basement wall
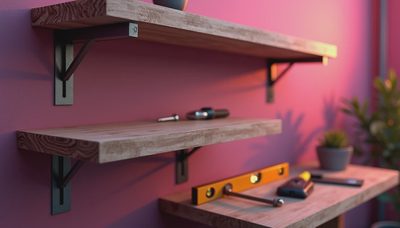
The most adaptable arrangement is a continuous shelf run above a sturdy bench. Set the bench at roughly 34 to 36 inches high, then reserve the first shelf for items used weekly. Keep that shelf 16 to 20 inches deep so boxes remain visible without extending into your working space. Higher shelves can be 12 to 16 inches deep because they usually hold lighter containers and seasonal supplies.
For a Chicago basement with block walls, I often prefer a freestanding frame built from 2-by-4 lumber or slotted steel uprights. It is easier to shim level, and it does not depend on questionable mortar joints. If you anchor into concrete, use fasteners rated for masonry and verify that pipes or wiring are not hidden behind the mounting area. A simple ledger screwed into sound framing can support plywood shelves at a lower cost than a fully modular system.

Use 3/4-inch plywood for shelves that will carry paint cans, hardware bins, or power tools. A 24-inch span between supports keeps sag under control; longer spans need a front edge, a steel angle, or an intermediate bracket. Painting the plywood with durable porch and floor paint seals rough edges and makes spilled glue easier to remove. Melamine is convenient for clean indoor work, but its particleboard core is less forgiving around basement humidity and heavy loads.
Make storage match the way you work
A shelf layout should follow a sequence. Put measuring tools, pencils, clamps, and drivers near the bench. Store fasteners in shallow, labeled bins at eye level. Place sanders, drills, and circular saws on a shelf that can be reached without stepping onto a stool. Reserve the lowest level for awkward items that are safe to lift from the floor, including a shop vacuum, extension cords, and empty storage totes.
These workshop shelf ideas become much more useful when every category has a defined footprint. A red tool case should not occupy the prime shelf simply because it was set down there first. Measure each group and assign it a zone. For example, reserve 30 inches for hand tools, 24 inches for finishing supplies, and 36 inches for portable machines. This is more efficient than filling the wall with random cubbies and discovering that the one item you need is always behind three others.
Consider a narrow pegboard or French cleat above the bench. A French cleat is a beveled wood rail that lets you hang and rearrange cabinets, tool holders, and small shelves. It works especially well in a phased basement renovation because you can add storage without rebuilding the wall. Keep the cleat system above the main work area, where changing tool positions will not affect the room's circulation.
Design around moisture, light, and safety
A basement workshop needs materials that tolerate real conditions. Do not store paper, untreated lumber, or precision tools directly against a cold foundation wall. Leave a small air gap behind shelving, and use a dehumidifier when humidity stays high. Plastic bins with snap lids protect screws and electrical accessories better than open cardboard boxes, while ventilated metal shelves suit paint cans and bulky equipment.
Lighting deserves the same attention as shelving. A bright ceiling fixture may illuminate the room but still cast your body’s shadow across the bench. Add a linear LED fixture over the work surface, with a color temperature around 4000K for clear, neutral visibility. Under-shelf lights are useful when the upper shelf is deep, but protect cords from moving tools and keep outlets accessible. Workshop shelf ideas should improve sightlines, not create dark storage caves.
Think about fire safety as well. Keep flammable finishes away from heat-producing equipment, store oily rags in a listed metal container with a self-closing lid, and avoid stacking materials against the furnace or water heater. Leave the clearance required by the equipment manufacturer. A beautiful storage wall is not worth narrowing a service area or blocking an emergency route.
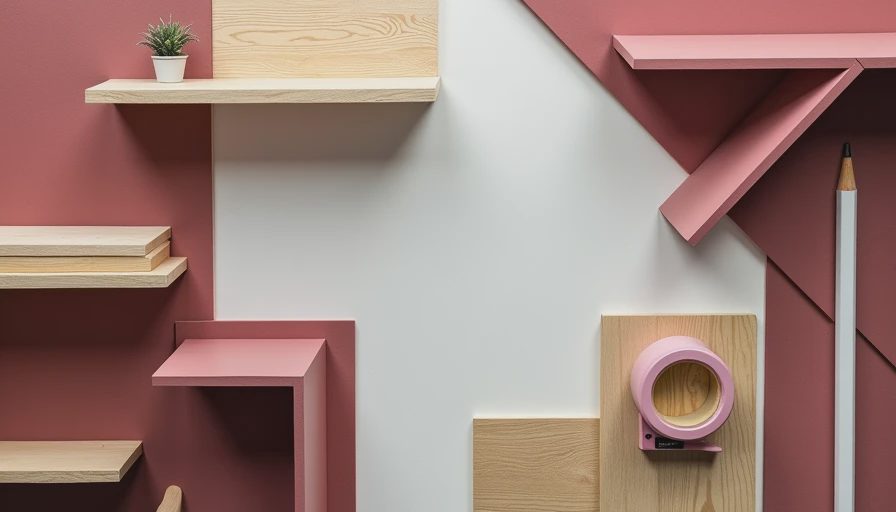
Three layouts that work in small basements
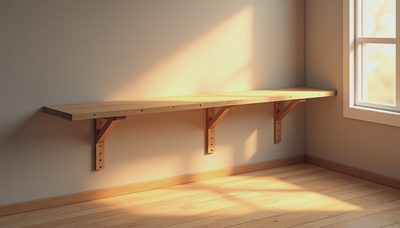
For a compact room, a single-wall workshop is usually the cleanest solution. A 6- to 8-foot bench with shelves above it gives you one organized work zone and preserves the opposite wall for bicycles or household storage. Choose this layout when the basement also functions as laundry space or a passage to mechanical equipment.
An L-shaped layout works when two walls meet without a window or door conflict. Put the primary bench on the longer wall and use the return for a chop saw, assembly area, or tall cabinet. Keep the corner useful with a shallow shelf rather than a deep cabinet where items disappear. These workshop shelf ideas are especially effective when one side can hold everyday tools and the other can hold project materials.
A mobile layout suits a basement that must serve several purposes. Use locking casters on a heavy bench, then roll it against the wall when the room becomes a storage area or hobby space. Wall shelves should remain fixed, but the floor-level equipment can move. Build in a parking spot so the mobile bench does not end up blocking the stairs.
Budget the project in sensible phases
You do not need to finish the entire basement before improving the workshop. Start with a measured bench, two strong shelves, good lighting, and labeled bins. Depending on materials and whether you build it yourself, that first phase can range from about $300 for basic lumber and hardware to $1,200 for a more polished system with steel uprights, cabinets, and lighting.
Add drawers and specialized holders only after using the basic arrangement for a month. Your habits will reveal what deserves prime space. A homeowner who expects to build furniture may need long horizontal storage for clamps and boards, while someone doing repairs may get more value from shallow parts drawers and a charging station. Buying storage in stages prevents expensive cabinets from becoming permanent clutter.
The strongest workshop shelf ideas leave room for the next project. Keep one shelf intentionally open, provide a dedicated place for incoming materials, and label containers from the front rather than the lid. In a basement, good design is not about squeezing in the maximum number of objects. It is about giving each tool a clear home while preserving light, circulation, and the ability to change the room later.



No notes yet — write the first one.