A basement often has more usable floor area than it appears to, but fixed shelving can consume the very space you need to reach pipes, furnaces, bicycles, and holiday storage. DIY rolling shelves solve that problem by turning a static storage wall into a movable system. Instead of leaving a 30-inch aisle around every cabinet, you can pull one unit forward, access the contents, and keep the remaining floor open for another use.
I have used versions of this idea in basements that needed to function as workshops, laundry rooms, and play spaces at different times of the week. The key is not simply adding casters to a box. It is drawing the storage system around the basement's structure, clearances, and circulation before buying plywood.
Start with the basement plan, not the lumber
Before building DIY rolling shelves, measure the room in three dimensions. Record the distance between posts, the location of cleanouts, the swing of the furnace door, and the path from the stairs to the main living area. In an older Chicago basement, a column may be only 42 inches from a wall, while a low duct can drop the ceiling from 82 inches to 70 inches. Those constraints determine the useful size of each shelf.
Leave at least 36 inches for a comfortable primary walkway. If the shelf will roll out into that route, measure the open position as well as the closed position. A 24-inch-deep cabinet that moves 30 inches forward needs roughly 54 inches of clear working space. That calculation prevents the common mistake of creating storage that technically moves but blocks the room whenever it is in use.
For most basement applications, shelves between 18 and 24 inches deep are easier to control than very deep units. Keep heavy items low, and design the top level around the tallest object you will store. A shelf for paint cans needs a different vertical rhythm from one for wrapping paper, folding chairs, or labeled plastic bins.
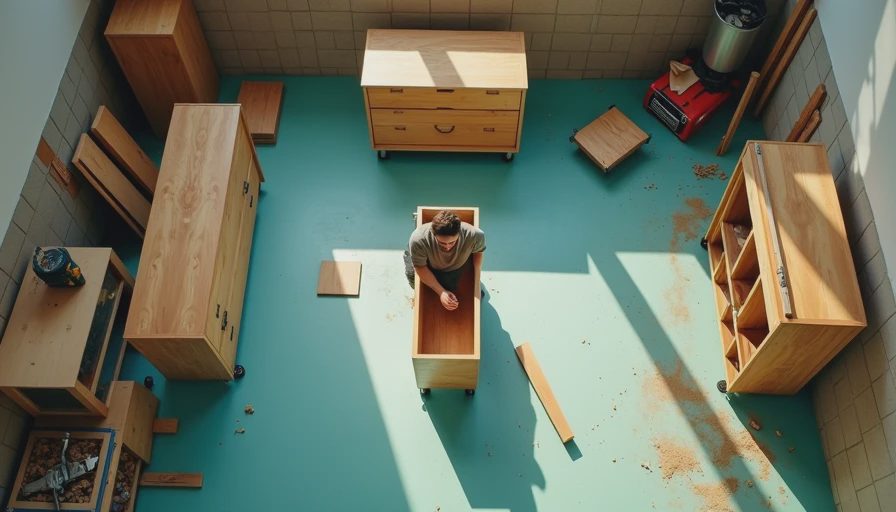
How DIY rolling shelves should be built
The most reliable DIY rolling shelves use a rigid cabinet, a flat base, and hardware rated for more weight than the finished unit will carry. Three-quarter-inch plywood works well for the sides and shelves because it stays flatter than inexpensive particleboard in a basement environment. Seal exposed edges with polyurethane or a dedicated edge band so occasional dampness does not immediately damage the panels.
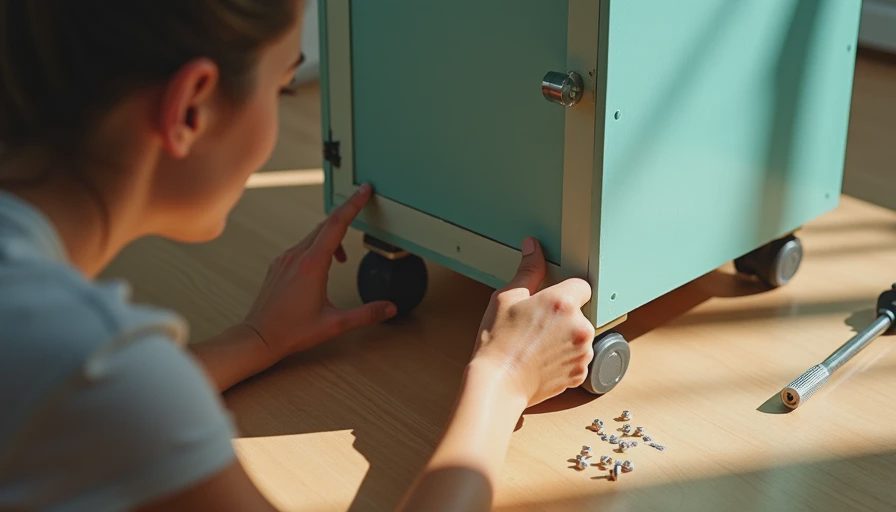
Use four heavy-duty locking casters, but do not treat the casters as the entire structural system. A simple plywood bottom frame distributes the load, while a back panel prevents the cabinet from racking sideways. Without that back or another form of bracing, the shelf can twist when it rolls over a small crack in the concrete floor.
Caster capacity deserves a practical calculation. A unit weighing 100 pounds and holding 300 pounds of supplies has a 400-pound total load. Four 150-pound casters provide 600 pounds of stated capacity, but that extra margin matters because weight is rarely distributed perfectly. Choose casters with brakes on at least two wheels, and test the rolling action before filling the shelves.
A good construction sequence is straightforward. Cut the sides and shelves, assemble the box with screws and glue, attach the back, build a square bottom frame, and install the casters beneath that frame. Check the diagonals before the glue cures. If the measurements differ, the cabinet is out of square and may bind against neighboring units.
Make storage mobile without making it messy
Mobility is useful only when the contents remain organized. DIY rolling shelves work best when each cabinet has a clear job. One unit might hold seasonal decorations, another might store tools, and a third could contain bulk paper goods near the laundry area. Mixing every category together creates a mobile pile that is just as frustrating as a fixed one.
Use identical bins where possible. A 27-gallon black-and-yellow tote is durable for Christmas lights or camping equipment, while smaller clear bins make sense for fasteners, electrical supplies, and paint accessories. Label the front edge of each shelf, not just the lid of the bin. That way, you can identify a category while the cabinet is still parked in its storage position.
Keep the heaviest containers between ankle and waist height. Stacking dense tile samples or full paint cans above shoulder level creates a lifting hazard and makes the cabinet top-heavy. Put lightweight items such as cushions, empty boxes, and spare linens higher up. If children will use the basement, store chemicals and sharp tools in a locked cabinet rather than relying on shelf height.
The finish should match the room's actual conditions. In a dry, finished basement, painted plywood may be enough. In a utility room with a concrete floor, use a durable floor paint or polyurethane and keep the cabinet slightly elevated. A small gap under the bottom frame allows you to spot water before it reaches stored materials.
Three basement layouts that benefit from rolling storage
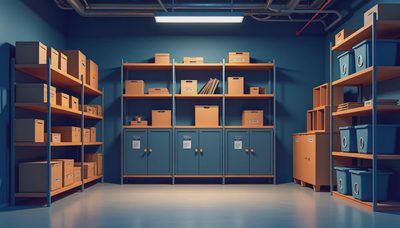
In a narrow utility basement, place DIY rolling shelves along the longest uninterrupted wall. Keep the cabinets parked in a row and pull out only the one you need. This creates a compact storage library while preserving a direct route to the mechanical equipment. Add a wall-mounted light above the row so the back of each cabinet is not hidden in shadow.
In a basement workshop, use two shorter units rather than one long cabinet. A pair of 30- to 36-inch-wide shelves can move independently around a workbench. One can hold hand tools and hardware, while the other carries clamps, sandpaper, and finishing supplies. The smaller footprint also makes it easier to remove a cabinet if a water heater needs service.
For a media room or guest area, conceal storage behind a simple painted screen or curtain. The rolling units can hold folding chairs, board games, spare blankets, and party supplies without turning the room into a warehouse. Keep the screen removable; permanent built-ins are a poor choice when the basement is still evolving.
Cost, testing, and the details that prevent regret
A basic cabinet may cost $100 to $180 in plywood, screws, glue, and finish. Four quality casters can add $60 to $160, depending on capacity and wheel type. A larger, finished unit with labeled bins and better hardware can approach $350 to $500. That is still often less than custom cabinetry, while giving you access to the floor and the ability to change the layout later.
Before loading DIY rolling shelves, perform a test with temporary weights. Put two or three filled totes inside, roll the cabinet across the floor, engage the brakes, and open nearby doors. Watch for flexing, wheel chatter, and contact with baseboards. If the unit drifts, the floor may not be level; a thin, securely attached leveling strip under the caster plate can help, but do not create a trip edge in the walkway.
Also check clearances around electrical panels, shutoff valves, sump pumps, and furnace service zones. Storage should never make emergency equipment difficult to reach. Mark those areas on the floor with removable tape while planning. A smart basement is not the one with the most shelves; it is the one where every shelf supports the room's larger purpose.
DIY rolling shelves are particularly valuable when you are finishing the basement in phases. Build one test cabinet first, live with it for a month, and notice what you actually reach for. Then expand the system using the dimensions that proved useful. That measured approach costs less than committing to a full wall of cabinets that later prevents the basement from becoming an office, gym, or flexible family room.
The best DIY rolling shelves disappear into the architecture when they are parked, then earn their space the moment you need access. Draw the route, respect the structure, overbuild the base, and let the basement remain adaptable.

No notes yet — write the first one.