Basement shelving is rarely just a storage decision. In an older Chicago house, the right system can separate tools from laundry, keep holiday boxes out of a future media room, and make a seven-foot ceiling feel intentional rather than restrictive. I have learned to treat shelving as part of the basement plan from the first sketch, not as an accessory added after the walls are finished.
The useful question is not, “How many shelves can fit?” It is, “What jobs must this wall perform?” A storage room needs different depths than a workshop. A playroom needs closed bins at a child’s reach. A basement office benefits from low cabinets that preserve sightlines. Design the answer around the room’s future use, and the lower level becomes easier to finish in phases.
Start With the Basement’s Actual Constraints
Before buying a rack, measure the room as though you were drawing a floor plan. Note the distance from the foundation wall to the face of the furnace, water heater, electrical panel, sump pump, and any plumbing cleanout. Leave service access around mechanical equipment; a shelf that blocks a technician is a cheap purchase that creates an expensive problem.
Measure ceiling height in several places, especially in pre-1960 homes with uneven floors. A nominal eight-foot basement can lose six inches to ductwork, pipes, and a soffit. Tall basement shelving should not stop you from walking beneath a low beam or reaching a shutoff valve. I generally prefer a 12- to 16-inch-deep unit for general storage and 18 to 24 inches for large containers, tools, or bulk supplies. Deeper is not automatically better; it often creates a dark second row of forgotten items.
Mark windows, stair landings, and the path from the exterior door. That circulation line is the basement’s main street. Keep it at least 36 inches clear where possible, and use the wall plane for storage rather than narrowing the route.
Choose Materials That Tolerate Lower-Level Conditions
Basements punish the wrong materials. Even a dry-looking room can experience seasonal humidity, a small plumbing leak, or condensation near a cold foundation wall. Particleboard shelving is inexpensive, but its edges swell quickly after contact with water. For a utility area, powder-coated steel racks from brands such as Seville Classics or Gladiator are practical because they handle heavier loads and wipe clean. Rubbermaid and Sterilite containers work well on those shelves when labeled by category rather than by vague terms such as “miscellaneous.”
For a finished room, I like plywood cabinets with a durable paint or laminate face. Three-quarter-inch plywood provides a more reliable base for books, records, and equipment than thin fiberboard. Melamine can look crisp and is easy to clean, but protect its cut edges and keep it off a damp concrete floor. A simple 4-inch-tall plastic or sealed-wood plinth gives the cabinet a little protection and makes mopping possible.
Do not fasten a wooden system directly to a masonry wall without thinking about air movement. A treated-wood cleat or metal rail can create a small separation, while adjustable standards let you reposition shelves as the room changes.
Design Basement Shelving Around Three Functions
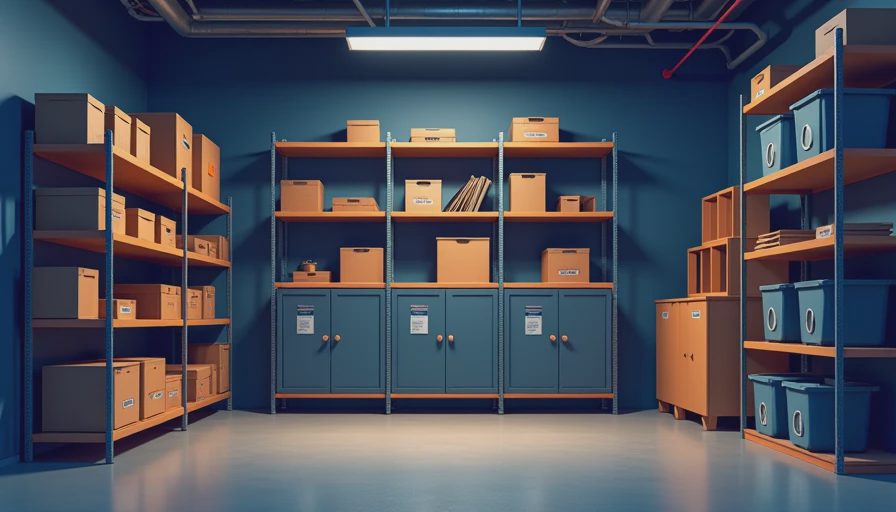
The strongest basement layouts often let one wall serve three purposes. Imagine a 12-foot wall divided into a 6-foot storage zone, a 4-foot work surface, and a 2-foot vertical cabinet for cleaning supplies. The storage zone holds labeled bins. The work surface becomes a repair bench today and a craft or homework station later. The narrow cabinet hides brooms, a vacuum, and folding chairs.
This layered approach keeps the room from becoming a warehouse. In a future home theater, low cabinets can hold board games and audiovisual components while the upper wall remains clear for acoustic panels or artwork. In a guest suite, closed cabinets near the stair can store linens without making the sleeping area feel like a utility room. In a gym, shallow shelves can hold towels and resistance bands while leaving enough clearance for a rowing machine.
Use closed doors where visual noise matters and open shelves where access matters. Open basement shelving is excellent for frequently used tools, but a collection of mismatched boxes can make a finished room feel unfinished. Repeating container sizes creates order without requiring custom millwork everywhere.
Make Storage Accessible, Not Merely Large
A shelf’s value depends on how often someone can reach what is stored there. Place everyday items between about 30 and 60 inches above the floor. Reserve the highest level for seasonal decorations, luggage, and infrequently used camping gear. Keep heavy paint cans, tile, and tool cases low, where they are safer to lift and less likely to fall.
Label shelves by activity: “winter gear,” “painting,” “electrical,” or “guest linens” is more useful than labeling a box “basement.” Leave roughly 15 percent empty space in each zone. That margin is not wasted capacity; it gives you room to put something away without dismantling the entire arrangement.
If children will use the room, anchor freestanding units to studs or masonry with appropriate hardware. Avoid placing climbable bins beside a window or stair guard. In a workshop, install a solid back or wall rail where appropriate so a tool rack cannot pull away under repeated use. Safety is a design requirement, not a final inspection item.
Plan for Moisture and Maintenance
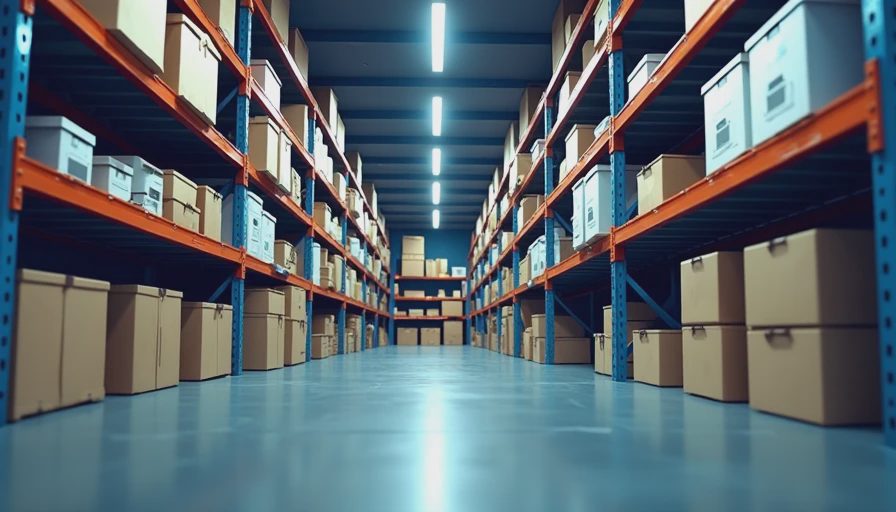
Storage cannot correct a wet basement. Before installing permanent cabinets, look for musty odors, efflorescence, peeling paint, rust, or damp corners after heavy rain. Confirm that gutters discharge away from the foundation and that the sump system is accessible. A dehumidifier with a continuous drain can help maintain a more stable environment, but it is not a substitute for fixing water entry.
Keep shelving a few inches away from a foundation wall when conditions call for ventilation, and do not cover evidence of an active leak. Use plastic totes for documents, fabric, and seasonal clothing until the room has demonstrated stable conditions through changing weather. Store paper records above the floor, preferably in a finished cabinet away from the mechanical zone.
For a polished remodel, coordinate shelf locations with outlets, lighting, and future walls. A cabinet that hides an outlet or blocks a light switch is a planning error visible every day. Under-shelf LED strips can illuminate a workbench, while ceiling fixtures provide general light. The combination is more useful than one bright fixture in the center of the room.
Build Basement Shelving in Phases
You do not need to finish the entire basement at once. Phase one can be a durable rack system, sealed floor, improved lighting, and labeled containers. Phase two might add a worktop and closed cabinets. Phase three can complete a media room, office, or guest area around the storage that proved worth keeping.
A basic steel rack system may cost roughly $100 to $300 per unit, while a wall of semi-custom plywood cabinets can reach $2,000 to $6,000 depending on length, hardware, and finish. Custom built-ins cost more, but they can make use of awkward spaces beneath stairs or beside duct chases. The best investment is not the most expensive material; it is a layout that preserves circulation, service access, and the room’s next use.
Before ordering, tape the proposed footprint on the floor and hang painter’s tape at the top shelf height. Walk the route carrying a laundry basket, storage tote, or piece of furniture. That ten-minute test reveals collisions that a product photo never will. Good basement shelving disappears into the architecture: everything has a place, the mechanical systems remain reachable, and the lower level is ready to become more than storage.


No notes yet — write the first one.