DIY storage shelves can do more than get plastic bins off the floor. In a basement, they can establish a wall, define a work area, and make an unfinished room feel deliberately organized. The important step is not buying lumber. It is drawing the storage plan before cutting anything. I start by measuring the room, locating every obstruction, and deciding what the shelves need to hold six months from now.
Older Chicago basements often have uneven concrete, exposed pipes, low beams, and masonry walls that are not perfectly straight. Those conditions do not prevent good storage, but they do punish improvisation. A shelf that fits upstairs may block the electrical panel below. A deep cabinet may make the stair landing feel narrow. Good storage earns its footprint by fitting the room and the way you use it.
Start with the Basement, Not the Shelving Kit
Measure the full wall length, but also record ceiling height at several points. In a pre-1960 home, a floor joist or duct may drop lower than the rest of the ceiling. Leave at least 30 inches of clear working space in front of shelves where you will carry bins, and preserve the access zone around the furnace, water heater, sump pump, and electrical panel. Local codes and equipment instructions can require specific clearances, so do not build a cabinet that makes maintenance difficult.
DIY storage shelves work best when their depth matches the objects they serve. Sixteen inches is usually enough for labeled totes, paint cans, and folded camping gear. Eighteen to 24 inches can handle larger bins, but greater depth creates a dark second row where items disappear. For a basement workshop, shallow shelves above a bench are easier to use than one deep unit stretching from floor to ceiling.
Draw the shelving elevation on graph paper. Mark outlets, pipes, windows, cleanouts, and the preferred path from the stairs to the rest of the room. This simple drawing often reveals that three shorter bays are more useful than one long run. Shorter spans also reduce sag and make future changes easier.
Choose Materials That Tolerate Basement Conditions
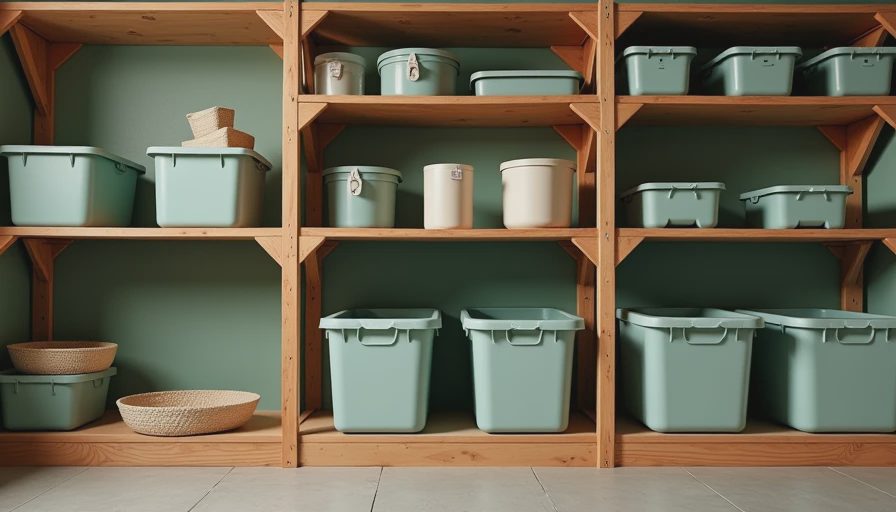
The basement is not a dry upstairs closet. Even a room that feels comfortable can experience seasonal humidity, small plumbing leaks, or condensation near foundation walls. I generally prefer construction-grade plywood or solid lumber for shelves rather than particleboard. Three-quarter-inch plywood with a sealed edge is a dependable choice for medium loads. For lighter bins, five-eighths-inch plywood can work when the span is kept short.
For the frame, straight 2-by-4 lumber is inexpensive and forgiving. A wall-mounted cleat can support the back of each shelf, while front rails prevent plywood from bowing. If the wall is masonry, use fasteners designed for concrete or block and test the wall before committing to a full run. An open gap of about one inch behind the unit helps you inspect the wall and keeps stored items from sitting directly against damp masonry.
DIY storage shelves should also sit above the floor. A four-inch-high toe-kick or a raised base protects boxes from a minor water event and makes sweeping easier. In a basement with known seepage, I would use a metal rack or a carefully sealed platform, then address drainage before storing anything valuable. Shelving cannot solve a foundation problem.
Build in Zones Instead of One Giant Wall
Storage becomes easier to maintain when each bay has a job. One section might hold holiday decorations, another household supplies, and a third serve as a tool library. Put frequently used items between waist and shoulder height. Reserve the lowest level for heavy bins and the highest level for light, seasonal objects. This arrangement reduces awkward lifting and keeps the shelf from becoming a random pile.
A practical bay is often 30 to 36 inches wide. That dimension gives plywood a manageable span and lets one person reach most of the shelf. If a wall is 11 feet long, four bays around 32 inches wide can leave room for a narrow vertical gap or a hinged access panel. Do not fill every inch. A small open section can become a place for a folding ladder, broom, or shop vacuum.
DIY storage shelves can also divide a basement without closing it in. A 48-inch-high run behind a sofa creates a visual boundary for a family room while preserving light and sightlines. A taller unit can separate a workshop from a storage corridor, but keep the passage wide enough to move furniture and large boxes. The best room divider provides organization on one side and a finished-looking back on the other.
Make the Shelves Adaptable
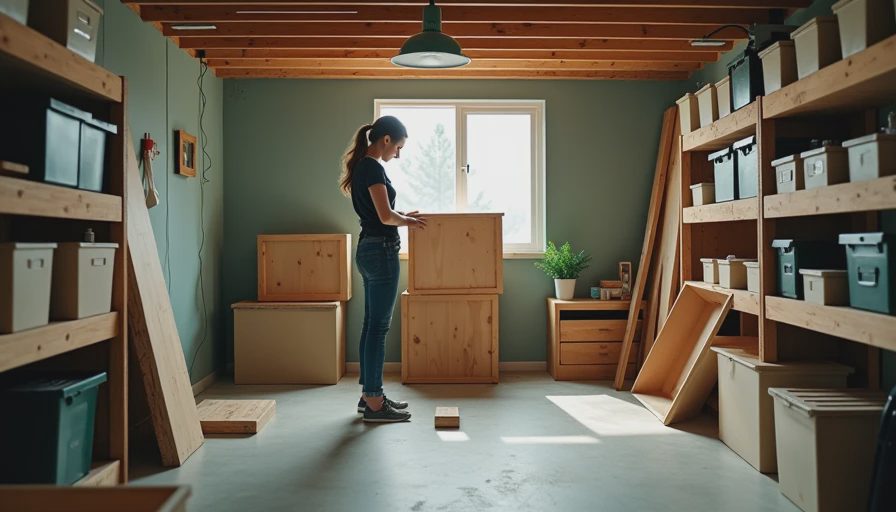
Basement needs change. A newborn may require toy storage, while a later renovation may need space for sports equipment or a compact home gym. Use adjustable shelf pins, cleats, or a simple row of screw-mounted supports so the vertical spacing can change. Shelves spaced 12 inches apart suit smaller containers; 16 to 18 inches is better for bulky totes.
Label containers by category and size rather than by vague descriptions such as “basement stuff.” Clear labels like “winter lights,” “plumbing parts,” and “tax records” reduce searching. Keep an inventory on a phone note if the room holds many boxes. The goal is not a showroom. The goal is finding a replacement furnace filter without opening six containers.
If the basement may eventually become a guest room, office, or media room, make the storage removable. Freestanding DIY storage shelves can move during framing and insulation work. Wall-mounted units look cleaner, but they must be planned around future drywall, outlets, and baseboards. A phased approach often saves money because you avoid building permanent cabinetry before the room’s final use is clear.
Finish the Details That Make Storage Feel Architectural
Raw plywood can be perfectly serviceable, but a few finishing decisions make the room feel intentional. Sand exposed edges, seal the wood with a water-based polyurethane, and use a consistent paint color if the shelves are visible from a finished area. A matte white finish reflects light in a low-ceiling basement. A dark charcoal finish can make a workshop feel more grounded, though it will show dust more readily.
Add simple LED strip lighting beneath selected shelves, especially near a workbench or stair landing. Use a plug-in system only where the cord can be protected and kept away from wet areas. If you are adding permanent electrical work, hire a qualified electrician and follow local requirements. Lighting is a small upgrade, often under $100 for a modest run, that prevents the back of every bin from becoming a black hole.
DIY storage shelves do not need to look homemade. Align the front edges, use matching hardware, and keep the base level even when the floor is not. Shim the platform rather than forcing long boards to follow a sloping slab. That attention to the first two inches determines whether the entire wall looks calm or crooked.
A Sensible Weekend Build Sequence
Begin by removing everything from the proposed wall. Photograph the exposed conditions, then mark the shelf footprint with painter’s tape. Confirm door swings, equipment clearances, and the path for carrying materials downstairs. Buy a little extra lumber, but do not cut until the largest containers and bins have been measured.
Build and level the base first. Assemble one test bay, load it with the heaviest intended items, and inspect for movement or deflection. If it performs well, repeat the details across the remaining bays. Secure tall units to the wall, especially in homes with children or in earthquake-prone regions, and never rely on a leaning rack for heavy storage.
DIY storage shelves are successful when they support the basement’s next use, not just today’s clutter. A measured 12-foot wall can hold tools now, craft supplies later, and a compact pantry arrangement after a renovation. Draw the plan, protect the floor and walls, leave maintenance access, and build only as much as the room can support. That is how storage becomes part of the architecture instead of another obstacle in the basement.


No notes yet — write the first one.