DIY wall shelves can do more than clear boxes from the basement floor. Planned correctly, they turn an awkward cinder block wall into useful storage for books, tools, records, barware, or board games without consuming the room's limited footprint. I have found that the best basement storage starts with a drawing, not a trip to the hardware store. Measure the wall, decide what the shelves need to hold, and design around moisture, headroom, and access to utilities.
Start with the wall, not the shelf
Before building DIY wall shelves, inspect the surface and the room conditions. A finished drywall wall usually hides wood or metal framing, while an unfinished basement may expose concrete, masonry, or irregular foundation walls. These surfaces require different fasteners and different expectations for load capacity. Do not assume that a drywall anchor can support a full shelf of textbooks or cast-iron cookware.
Measure the wall in three directions: width, height, and depth. A 10-inch-deep shelf is practical for paperbacks and small bins; 12 to 14 inches handles larger storage; anything deeper can make a narrow basement walkway feel pinched. Keep at least 7 feet of clear headroom along a primary path, and avoid placing shelves where someone could strike a corner while using the stairs.
Make a quick elevation drawing on graph paper. Mark the ceiling, baseboard, electrical outlets, plumbing cleanouts, shutoff valves, and furnace access panel. Leave removable access where maintenance requires it. A beautiful storage wall that blocks the main water shutoff is not a successful design.
Choose materials that suit a basement
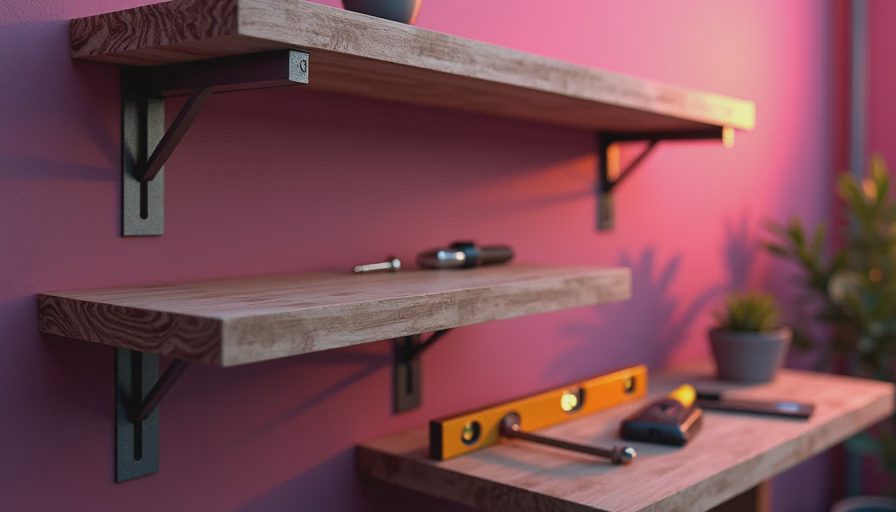
For painted DIY wall shelves, 3/4-inch plywood is my usual starting point. It is stable, strong, and available in 4-by-8-foot sheets. Cabinet-grade birch plywood gives a cleaner edge than construction plywood, while MDF creates a smooth painted surface but is less forgiving around damp floors or leaks. Solid pine is inexpensive and easy to cut, though it can cup if the basement humidity changes.
Use a front edge, such as a 1-by-2-inch hardwood strip, to stiffen a long shelf. A 36-inch shelf holding light decor may need little reinforcement, but a 60-inch shelf filled with records or tools should have a center support or a deeper structural cleat. Paint every exposed plywood edge, especially near a concrete floor, and keep the lowest shelf several inches above the slab so a minor spill does not immediately damage it.
For a clean Chicago basement office, I often use birch plywood with a clear water-based finish and black steel brackets. In a playroom, painted plywood with rounded front corners is more forgiving. A utility room may benefit from unfinished shelves that can be wiped down rather than carefully detailed cabinetry.
Build the support system first
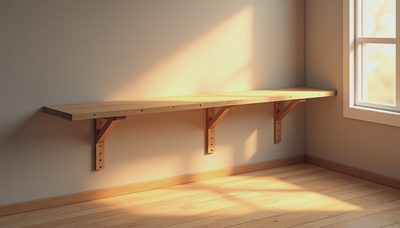
The shelf surface is only half the structure. DIY wall shelves become reliable when their cleats or brackets transfer weight into framing or masonry. On a framed wall, locate studs with a stud finder, then confirm each position with a small test hole. Fasten a continuous wood cleat into at least two studs using structural screws long enough to pass through the cleat and drywall.
For concrete or concrete block, use masonry-rated screws or expansion anchors selected for the actual substrate. A hollow block wall is not the same as poured concrete, and a fastener designed for one may perform poorly in the other. If the wall is damp, efflorescent, cracked, or visibly shifting, solve that condition before adding storage. Shelves should not become a cosmetic cover for water intrusion.
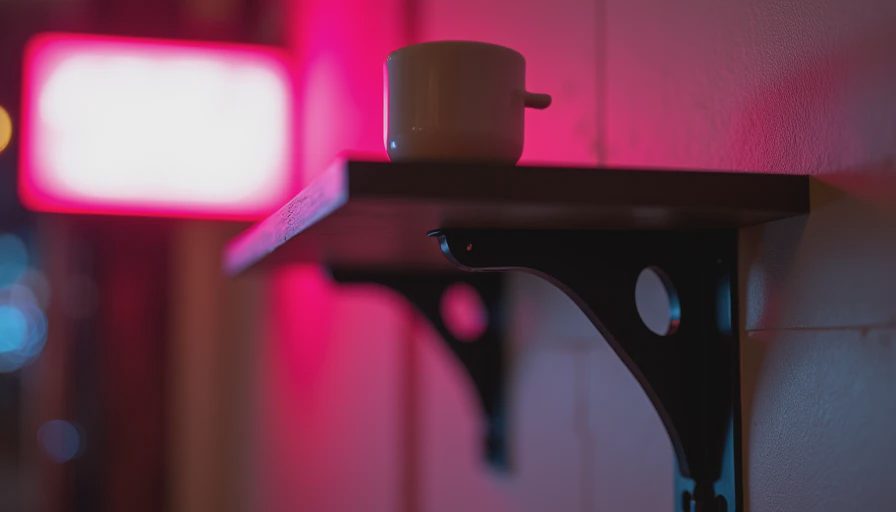
Brackets spaced 16 to 24 inches apart are a useful starting range for plywood shelves, but spacing depends on depth, material, and load. A 48-inch shelf holding folded linens is a different engineering problem from one holding a row of amplifiers. When in doubt, add a bracket. The extra $10 to $25 is cheaper than repairing a torn-out wall.
A practical installation sequence
Cut the shelf pieces only after checking your measurements twice. Sand the edges, apply primer and paint or finish, and let the coating cure before installation. Mark a level line with a laser or long spirit level. Basements often have floors and ceilings that are slightly out of level, so choose a reference line that looks correct in the room rather than copying an uneven surface.
Install the cleat or brackets, then test each fastener by hand before loading the shelf. Place the shelf on its supports and secure it from below with short screws that will not pierce the finished surface. For a freestanding-looking arrangement, use matching side brackets or a concealed cleat system, but remember that concealed hardware usually demands more precise carpentry and stronger attachment.
DIY wall shelves should be loaded gradually. Start with a few lightweight objects, inspect for sagging or movement after a day, and then add heavier items. Put dense items such as tools, books, and records close to supports rather than concentrating them at the center of a long span. Anchor tall storage near stairs or in a playroom so a child cannot pull the assembly forward.
Design storage around the basement's job
A shelf layout works best when it supports the room's primary function. In a media room, shallow shelves beside the screen can hold remotes, game controllers, and a few books without competing with the viewing wall. In a basement bar, 10-inch shelves can display glassware while lower closed cabinets hide cleaning supplies. In a home office, shelves above the desk keep reference material within reach but should stop short of the chair's movement zone.
Layering functions is especially valuable below grade. One wall might hold a 14-inch-deep workbench shelf at 36 inches high, a row of 10-inch book shelves above it, and a narrow display ledge near the ceiling. That arrangement provides a project surface, office storage, and visual warmth without claiming a separate room. DIY wall shelves can make a multipurpose basement feel intentional when their depths and heights are coordinated.
Leave breathing room around the storage. A continuous wall of full shelves can make a low-ceilinged basement feel heavier, while two shorter runs separated by a painted section create rhythm. Use baskets or cabinet boxes for visually noisy supplies. Open shelves are best for items you use or enjoy seeing; closed bins are better for holiday decorations and spare hardware.
Budget, safety, and the final check
A modest eight-foot shelf wall can cost roughly $150 to $350 for plywood, paint, brackets, screws, and finishing supplies. Hardwood edges, premium brackets, and custom stain can push the total toward $500 or more. A ready-made system from IKEA, Rubbermaid, or The Container Store may be faster, but a built-in arrangement can use odd basement dimensions more efficiently and leave access panels exactly where they belong.
Before calling the project finished, check that every bracket is tight, every shelf is level, and no sharp corner faces a walking route. Confirm that outlets, vents, windows, sump equipment, and mechanical controls remain reachable. Wipe the wall and shelf surfaces periodically, and watch for condensation during humid summer months. A dehumidifier set according to the manufacturer's guidance helps protect both the structure and stored belongings.
The most convincing DIY wall shelves are not the most elaborate ones. They are the ones that fit the wall, respect the room's circulation, and hold what the household actually uses. Draw the elevation, choose material for the basement conditions, attach supports to something solid, and build in phases if that is more practical. One well-designed storage wall can make an unfinished basement feel like a deliberate room rather than a place where the house sends everything it has outgrown.


No notes yet — write the first one.