Finishing a basement is less about pretty surfaces and more about making the lowest floor work like real architecture. In older Chicago homes, I often start with rooms that were never meant to be rooms: a low beam, a furnace chase, a cold slab, a stair that eats half the floor. The job is to solve those constraints first, then decide whether the space becomes a media room, office, guest suite, gym, or all three without feeling chopped up.
The best projects do not chase a single perfect use. They build a plan that can flex when a family changes its mind, a teenager needs privacy, or a parent starts working from home. That is why finishing a basement should begin with the structure, the moisture, and the circulation, not with paint colors or furniture.
The first thing I check before finishing a basement
Before finishes, I look at headroom, structure, and mechanicals. If the ceiling is 7 feet 1 inch but the ductwork drops to 6 feet 7 inches in one strip, the layout has to work with that reality instead of fighting it. Moving a duct a few feet or boxing in a beam cleanly can do more for a plan than a new sofa ever will. This is where finishing a basement becomes spatial design, not surface decoration.
Then I map how people move through the room. Stairs should land into an open zone, not into the side of a TV wall. A bathroom should not be the first thing you see. If the basement will ever hold a legal bedroom, egress has to be part of the plan from day one. A window well added late is expensive; one drawn early is just part of the architecture. I also pay attention to mechanical access, because the cleanest room in the house is useless if the furnace filter can only be changed by moving a sectional.
Moisture control before finishing a basement
Moisture is the reason so many lower levels fail. Before any drywall, I want to know whether the gutters dump water too close to the foundation, whether the grading slopes back toward the house, and whether the sump pump is doing real work or just making noise. In many older homes, the cheapest improvement is not inside at all. Extending downspouts, cleaning tile drains, and fixing the outside grade often buy more dryness than a fancy wall system.
Inside, I prefer materials that tolerate the basement environment. A dimple mat or insulated subfloor panel can keep the finished floor warmer than bare concrete. Closed-cell spray foam or rigid foam against the foundation wall usually performs better than fiberglass stuffed in a stud bay that can trap moisture. A dehumidifier on a drain line is not optional in most Chicago basements. It is part of the room, the way a range hood is part of a kitchen. Finishing a basement before water is solved is just inviting trouble, because moisture always finds the weakest seam first.

The rooms that make the square footage earn its keep
A good lower level rarely does only one job. The projects that feel calm usually combine functions with clear edges: a family room at the center, a desk niche near daylight, closed storage along the perimeter, and a guest zone that can disappear behind a pocket door or built-in millwork. That kind of stacking is why the space works as more than a backup room.
If the house above is short on gathering space, the basement should take on the loud job. If the main floor is tight on privacy, the basement can become the quiet one. I like to separate active and quiet zones by sightlines, not walls. A 12-foot run of cabinetry can hide toys, office supplies, and backup linens while still reading as one clean plane. In a 900-square-foot layout, that kind of discipline makes the room feel larger than its measurements. It also keeps the project from becoming a row of unrelated corners.
Light, air, and ceiling height
Daylight is scarce below grade, so the openings you do have need to work hard. A single larger egress window with a deep well usually gives more useful light than several small ones placed too high. White trim, lighter wall color, and low-profile window treatments help, but the real trick is making sure furniture does not block the borrowed light. A sofa turned two feet can matter as much as a new fixture.
Air matters just as much. A basement that feels stale usually needs better return air, not just more supply. When I can, I plan a dedicated return grille and a dehumidifier with a condensate drain. For ceilings, I avoid unnecessary drop ceilings because they eat headroom and make the whole room feel compressed. If services have to run below joists, I keep the soffits consistent and intentional so the ceiling reads as one system, not a patchwork of repairs. That is the difference between a room that feels added on and one that feels designed.
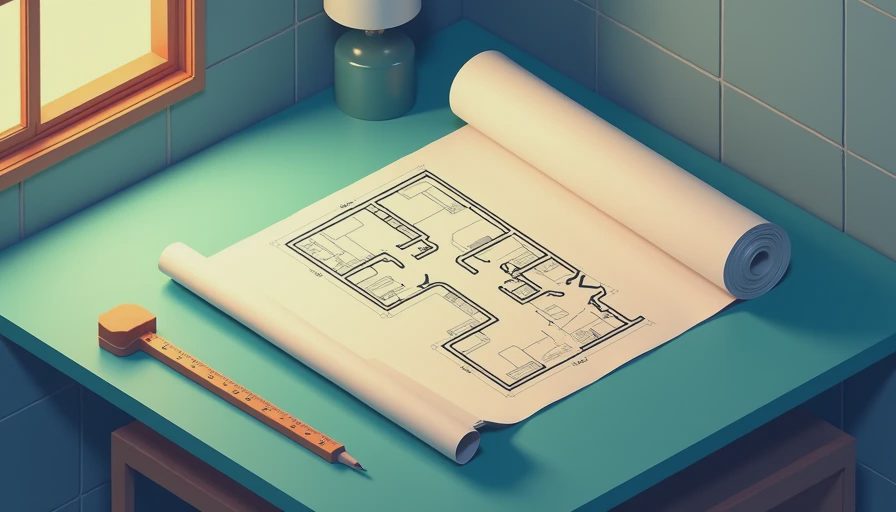
Stairs, storage, and the details that make it feel built-in
The stair is the first thing you experience, so it should feel like a real transition, not a utility access point. I like wider treads, a solid handrail, and a landing that opens the view before the lower level is fully revealed. If the stair is narrow or dark, the whole basement feels like a basement. If it is bright and proportioned, the lower level gets a better first impression immediately.
Storage matters just as much. The worst thing you can do is spend real money on a finished room and leave every holiday bin, tool, and suitcase in the open. Under-stair cabinets, a utility closet with bifold or pocket doors, and a built-in wall near the mechanical room keep the room clean without stealing usable floor area. In a tight house, that hidden storage is part of the value, because it lets the finished space stay finished instead of drifting back toward clutter.
What finishing a basement costs in real life
For a straightforward finish in an older Chicago house, a realistic budget often starts around $45,000 to $70,000 if the floor plan is simple and the moisture work is already under control. Add a bathroom, custom storage, better lighting, or a wet bar and the number can move into the $80,000 to $120,000 range fast. If you need waterproofing, foundation repairs, or a major mechanical overhaul, the price climbs from there.
That is why I rarely push an all-at-once approach. It is usually smarter to phase the work: solve water and framing first, finish the main room next, then add the bathroom, bar, or bedroom when the budget opens up. This is still finishing a basement, just with a sequence that respects cash flow and keeps the house livable. If you plan the structure well, the second phase looks like it was always meant to be there. For a lot of homeowners, that is the cleanest path from storage space to usable square footage.





No notes yet — write the first one.