An unfinished basement can be overwhelming, but that's where a floor design plan comes in. As an architect who has transformed over 60 basements across Chicagoland, I've learned that the best projects start on paper, not with a sledgehammer. Planning out every square foot before the first stud goes up saves money and regret.
Start with the Non-Negotiables
Before you sketch a single wall, measure the ceiling height from floor to joists. In older Chicago homes, that's often 7 feet or less. If you're under 7 feet, you're not going to get a movie theater with stadium seating; you're going to get a cozy den. That's fine, but it changes your options.
Check the floor slab for cracks, moisture, and slope. A damp basement will ruin any floor design plan, no matter how detailed. Look at the furnace, water heater, and sump pump. These mechanicals take up real space. I've seen homeowners plan a guest suite right where the HVAC chase runs. That's a mistake you can avoid with a few minutes of measuring.
Map the Zones Before You Draw Walls
I divide the basement into zones based on what the family above is missing. A home office needs a 10-foot wall for a desk and storage. A home theater needs a dark back wall and open floor for seating. A kids' play area needs durable surfaces and sightlines to the stairs.
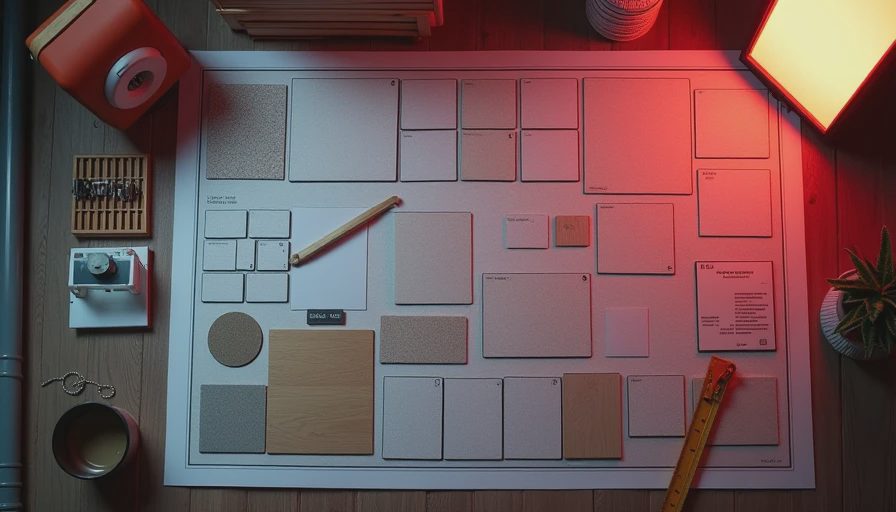
Your floor design plan should show each zone as a bubble, not a box. Start with the biggest pieces of furniture and work outward. For a media room, that means the sofa and screen. For a gym, it's the treadmill and a mat area. Once the bubbles feel right, connect them with walking paths.
Think in Traffic Patterns, Not Hallways
Basements rarely have square footage to spare for a traditional hallway. Instead of a corridor, let the rooms flow around an open center. In one Lincoln Park project, I placed the bar along one wall and the media seating across from it, leaving a wide zone for people to move behind the couch. That made a 12-foot-wide basement feel like two distinct rooms.
Draw arrows on your floor design plan showing how someone moves from the stairs to the laundry, then to storage and the utility room. If the paths cross your home theater, rearrange. The best layouts push utility traffic to one side and keep living zones separate.
Plan for the Mechanicals First
The furnace and water heater are the boss of your basement. Most homeowners want to hide them behind a wall, but that wall eats up space. Instead, build a small mechanical room around them. A 3-foot deep closet along the wall is usually enough. That leaves the rest of the floor open.
If your basement has laundry, keep it near an existing drain. Moving a drain line is expensive and often requires jackhammering the slab. Keep the laundry within 5 feet of the current stack if you can.
Layer in Lighting and Egress
Lighting is a two-part problem. First, ambient light so the space doesn't feel like a cave. I recommend recessed LED can lights on a dimmer, spaced on 3-foot centers. Second, task lighting above work surfaces like the bar or desk.
Egress is a safety issue. If you're planning a bedroom, the building code requires an egress window with a minimum opening of 5.7 square feet. Your floor design plan must keep a clear path to that window. In Chicago, this is often the difference between a legal bedroom and a storage room.

Beyond lighting and egress, don't forget the floor itself. A basement floor is uninsulated concrete, which can feel cold and damp. A layer of rigid foam insulation under a floating subfloor makes a huge difference. It raises the floor temperature and protects against moisture. This is a detail many first-time renovators miss, but it belongs in your plan.
Turn Your Floor Design Plan Into a Phased Budget
Now that you have a floor design plan, you need a budget. I've built basements for as little as $15,000 and as much as $150,000. The difference is scope. Start with the mechanical room and egress window, since they're hardest to add later. Then finish walls and lighting. Leave the fancy finishes for year two.
A good plan should survive that phasing. If you've drawn the full layout, you can build the first phase without blocking the second. I've seen basements where a homeowner built a closet wall in phase one and then tore it out to run a vent in phase two. The drawing prevents that.
Ready to Start Your Own Floor Design Plan?
You don't need to hire an architect for the first pass. Grab a tape measure, graph paper, and a pencil. Draw your basement's footprint, mark mechanicals and windows, and start sketching bubbles. The goal is to see the space on paper before you spend a dollar.
I've been drawing these plans for over 60 basements now, and the best ones all start with a homeowner who took the time to think it through. Your basement can become the best room in the house. A floor design plan is how you get there. Whether you hire an architect or do it yourself, the process is the same: measure, sketch, rethink, and refine. When you're done, you'll have a roadmap that makes every later construction decision easier.




No notes yet — write the first one.