Furniture storage in a basement only works when the basement is treated like real square footage, not a dumping ground. I see this all the time in older Chicago homes: a room full of good pieces, but no plan for what stays, what stays wrapped, and what can be reached without moving three chairs and a box of holiday lights. The goal is not to hide everything under the stairs. The goal is to protect the pieces, keep the floor usable, and make sure the lower level can still become a gym, office, or guest room later.
Start with the room, not the pile
When I plan furniture storage, I start by sketching the basement as if it were a small apartment. Where is the stair landing? Where is the furnace, electrical panel, sump pump, and any low ductwork? Those fixed points tell you what not to block. In a typical older house, the best storage zone is the longest uninterrupted wall, not the darkest corner. Long walls let you stack shelving, keep a clear aisle, and avoid creating a maze of loose pieces.
A good rule is to leave at least 36 inches for the main walking path and 24 inches at a minimum where you only need occasional access. That sounds generous until you try to carry a sofa cushion around a dehumidifier and a stack of boxes. If the basement is going to do more than hold things, you need to preserve circulation first and storage second. That order keeps the room useful for years instead of turning it into a locked closet with stairs.
Measure every piece before it goes downstairs
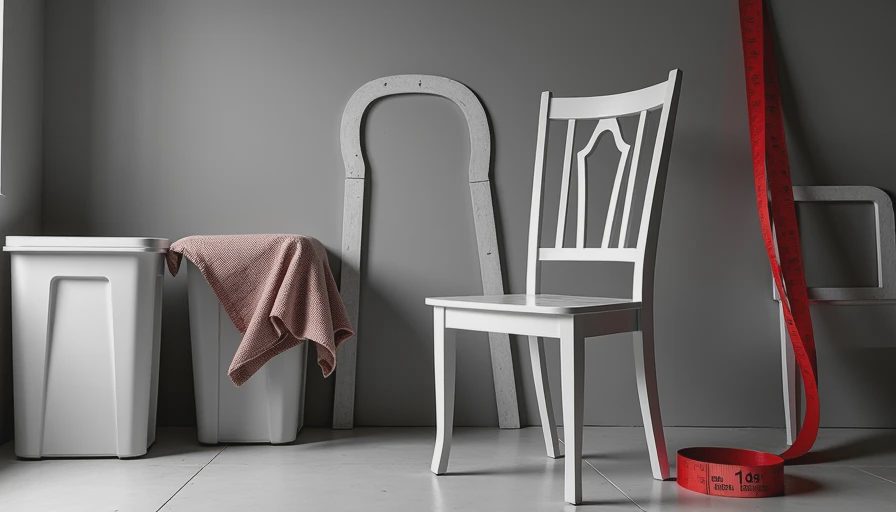
The first rule of furniture storage is to measure the furniture, then measure the stair run, then measure the doorway at the bottom of the stairs. People usually skip that middle step and regret it when a dresser will not turn at the landing. Write down width, depth, and height for every major item, then group pieces by shape. Sofas, headboards, dining tables, and chairs all behave differently once they are tilted or wrapped.
This is also where you decide what deserves prime floor space. A solid wood table should not sit in the same spot as broken patio chairs that might leave tomorrow. Put the best pieces closest to the access path and the lighter, less valuable items farther back. If you are storing a sectional, remove the legs, bag the hardware, and label each bundle clearly. Moving blankets, stretch wrap, and cardboard corner guards are cheap compared with refinishing a gouged arm or bent leg.
If your basement entry is narrow, break the job into two trips: one for bulky frames and one for cushions, lamps, and side tables. That keeps the stairwell safer and reduces the chance of dents at every turn.
Keep wood, fabric, and finishes dry
Good furniture storage starts with moisture control. Basements do not need to feel tropical to damage wood, leather, or upholstery. A little dampness over a long period is enough to swell veneer, smell up fabric, and invite mildew into seams and drawers. I want a basement that is dry enough to protect a bookcase for a year, not just dry enough for a weekend.
The practical fix is simple: run a dehumidifier with a drain line, keep stored pieces off the slab, and avoid plastic tarps that trap condensation against the surface. Pallets, casters, or low platforms help air move underneath. For wood furniture, I prefer breathable covers over sealed plastic whenever possible. Cotton moving blankets or furniture pads are safer than shrink wrap for long storage because they let the piece breathe while still protecting edges from dust and scuffs.
Temperature matters too. You do not need museum conditions, but a basement that swings wildly from humid summer air to dry winter heat is hard on finishes. If you are making bigger improvements anyway, sealing rim joists and adding insulation can stabilize the room and make the entire lower level more comfortable. That is a better long-term move than trying to rescue a warped table later.
Build clear paths and vertical storage
The best furniture storage setup leaves a clear path to the furnace, sump pump, breaker panel, and any finished area. That means the storage system should work like a shallow library wall, not a warehouse. Tall metal shelving, such as Gladiator-style units or similar heavy-duty systems, lets you use vertical space without spreading boxes across the floor. Keep the heaviest items on the lowest shelves and the lightest, most rarely used pieces higher up.
For upholstered pieces, think in layers. Chairs can stack with padding between them. Headboards can stand on edge behind shelving if the wall is straight and protected. Table leaves, hardware, and small parts should live in labeled bins, not loose in a corner where they get separated from the furniture they belong to. A simple marker and a roll of painter’s tape solve more problems than a fancy storage app.
This is also where the room can serve more than one purpose. A finished or semi-finished basement can hold storage on one end and a media room or workbench on the other, as long as the storage edge stays tidy. Once the aisle disappears, the whole lower level starts to feel smaller than it is.

Use phased moves instead of a full basement purge
Phased furniture storage lets the room keep working while you decide what stays in the house and what gets sold, donated, or repaired. That approach is especially useful in older homes where the basement may eventually become an office, playroom, or guest suite. You do not have to clear the whole level in one weekend to make progress. Start with the large pieces that block movement, then deal with the smaller items once the floor opens up.
A phased plan also helps with cost. Renting a truck, buying shelving, and purchasing pads all at once can push a simple job into the high hundreds of dollars. If you stage the work, you can spend first on the items that actually protect the furniture: dehumidifier, shelving, labels, and covers. After that, the rest is organization. In my experience, a few well-placed shelves and a clear layout do more than another dozen plastic bins.
If the basement is being finished in stages, reserve a permanent storage wall from day one. That way you are not tearing out fresh drywall later just to reclaim a forgotten corner. Planning storage into the design beats improvising around it.
A final checklist before the truck arrives
Before anything goes downstairs, walk the route with a tape measure and a flashlight. Check the stair width, landing turns, ceiling height at the bottom, and any low pipes. Clean the floor so grit does not scratch legs or casters. Test the dehumidifier. Label every item. Bag the hardware. Photograph anything valuable or fragile so you know how it looked before wrapping.
The best furniture storage is usually boring in the best possible way. It stays dry, it stays organized, and it leaves the basement ready for the next chapter. If you design the room around access, not just capacity, you can protect the pieces you care about and still keep the lower level useful for daily life.





No notes yet — write the first one.