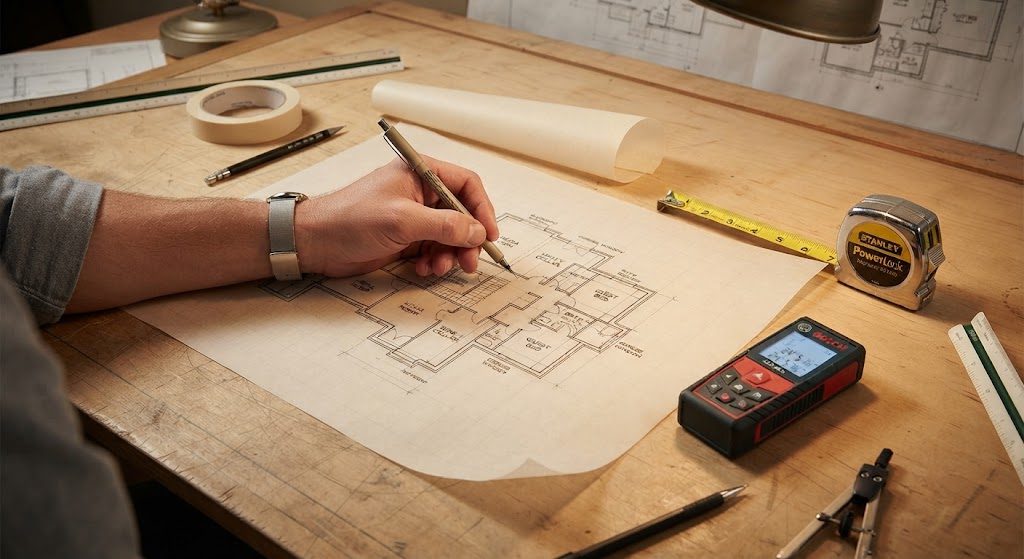
Most homeowners start their basement project by calling three contractors for quotes. That's step four, not step one. Before anyone walks through your basement with a clipboard, you need to know your square footage, your moisture situation, and what functions you're actually trying to fit. The first three steps cost nothing and take an afternoon. Skip them and you're making decisions based on a contractor's assumptions instead of your own data.
Step One: Measure Everything
What to Measure
Don't trust old floor plans or assessor records. Measure the basement yourself with a 25-foot tape measure and a laser distance tool. You need the overall length and width of the main rectangle, the floor-to-joist height in at least five locations, the size and location of every window, the height of window sills above the slab, the location of the stair landing and its distance from each wall, and the exact position of every mechanical element — furnace, water heater, electrical panel, plumbing stack, floor drain, sump pit.
Why It Matters
A basement that measures 22 by 18 feet on an old blueprint might be 21 feet 4 inches by 17 feet 9 inches in reality. That difference changes how many zones fit and where a bed can go. Ceiling height varies across a slab. The corner near the floor drain might be 7 feet 2 inches while the center is 7 feet 6 inches. Knowing those variations before you plan zones prevents a shower from landing under a low duct.
What to Do With the Numbers
Draw the basement footprint on graph paper or in a simple floor plan app. Mark every mechanical location. Draw the stair and the door swing. Draw the windows with sill heights noted. This becomes your base plan — the blank drawing you'll trace over a dozen times. The layout posts in The Layout section start from exactly this document.
Step Two: Test for Moisture
The Tape Test
Cut a 2-by-2-foot square of clear plastic sheeting. Tape it to the bare concrete slab with duct tape on all four edges. Leave it for 48 hours. If you see condensation on the underside of the plastic when you peel it up, moisture is moving through the slab. That doesn't mean you can't finish the basement. It means you need a subfloor system with an air gap — DMX or Dricore, not carpet directly on concrete. The subfloor post in The Build section covers this decision in detail.
Other Moisture Checks
Look at the foundation walls. Efflorescence — white chalky residue on concrete or brick — indicates water has moved through. Feel the walls after heavy rain. Check the rim joist area for damp insulation or water stains. If you find active leaks, fix them before any interior work starts. No subfloor or vapor barrier fixes a foundation leak. That's a job for an exterior waterproofing contractor, not a basement finisher.
Step Three: Draw a Bubble Diagram
What's a Bubble Diagram
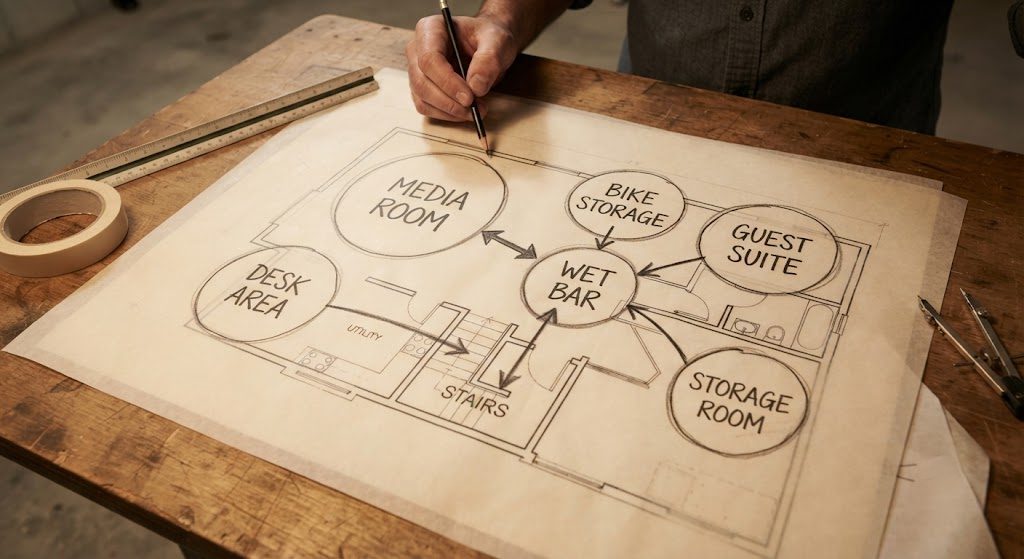
A bubble diagram is not a floor plan. It's a loose sketch with circles or ovals representing functions — "media," "desk," "guest bed," "bike," "bar," "storage" — arranged roughly where they might live in the basement. No dimensions yet. No walls. Just adjacency. What wants to be near the stair? What needs the window? What needs plumbing? What functions can share a zone?
Why It Works
Bubble diagrams separate what you need from where it goes. Most people jump straight to drawing walls and then realize the only place the bed fits is under the low duct. A bubble diagram forces you to prioritize functions first, then find the best arrangement on the base plan you measured in step one. The case studies in Rooms Below all started as bubble diagrams. The Lincoln Park media room started with three bubbles: screen, poker, sleep. The Wicker Park basement started with three bubbles: desk, bike, Lego.
Combine Functions in One Bubble
The multi-function framework I use in every project starts here. If your bubble diagram has six separate bubbles for six functions, the plan will be too tight. Try combining two or three functions into a single bubble. A guest bed and a media lounge can share one zone. A home office and a reading nook can share another. The fewer bubbles, the more spacious the final basement feels. The manifesto post at the start of The Layout section explains the logic behind multi-function spaces.
What Not to Do
Don't start by looking at basement photos online and picking a style. Style is paint and furniture. Paint and furniture come last. Start with the measurements, the moisture test, and the bubble diagram. Those three steps give you a clear brief. With a clear brief, you can hand a contractor a plan and say "price this" instead of "what do you think I should do?" The quotes come back faster, more accurate, and easier to compare.
This is the last post in the launch series. The five sections — The Layout, Rooms Below, The Build, Light + Air, and The Numbers — now have the foundational articles they need. New case studies, updated costs, and technical deep dives will follow.

No notes yet — write the first one.