In older homes, storage solutions are usually treated like an apology for the basement: a few plastic bins, a metal rack, and whatever is left after the rest of the house gets priority. That is the wrong order. A lower level can hold holiday decor, seasonal gear, kids’ hand-me-downs, and cleaning supplies without looking like a rented warehouse. The trick is to design storage as part of the room, not as an afterthought. When I plan a basement, I want the storage to support how the space will actually live, whether that means a media room, guest suite, workout zone, or all three.
The first move is to decide what deserves to stay visible and what should disappear. If you use the basement every week, the things you reach for should be easy to grab. The things you touch twice a year should be tucked behind doors, above eye level, or built into a dead corner. That sounds simple, but it changes everything about ceiling height, aisle width, and where the furniture can go.
Start with one wall that carries the load
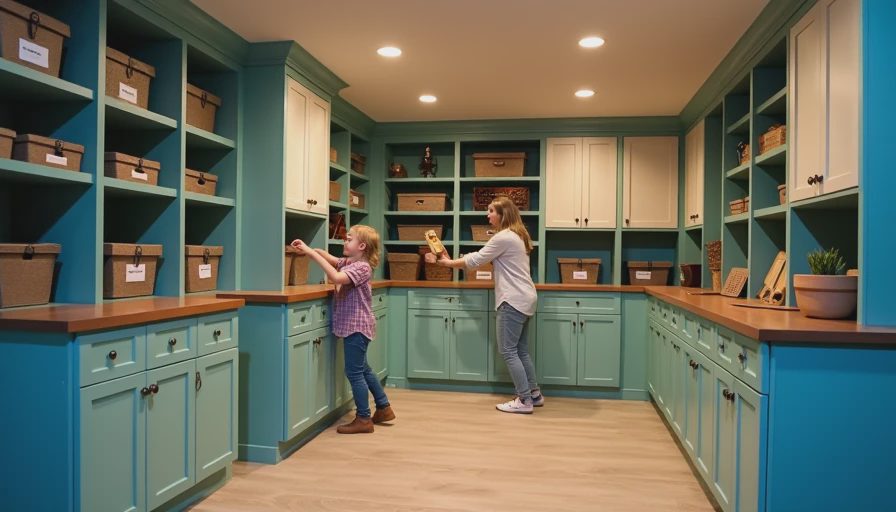
The most reliable approach is a utility wall. In a Chicago basement, that usually means one long run of cabinetry or shelving that absorbs the messy parts of the house: board games, tools, office overflow, dog supplies, and the random objects that never have a proper home. This is where storage solutions earn their keep. A 12- to 24-inch-deep system can do more than people expect if it is broken into zones instead of one giant row of cabinets.
I like to think in layers. Lower cabinets handle heavy things like paint cans, a shop vacuum, or record boxes. Upper cabinets hold lighter items. Open shelving can work for labeled baskets, but only if it is limited. If the whole wall is open, the room starts to feel unfinished again. Closed fronts keep the visual noise down, especially in basements with 7- to 8-foot ceilings, where every exposed object feels louder than it does upstairs.
For budget, a modular system from IKEA, Elfa, or ClosetMaid may run a few thousand dollars installed, while custom millwork can move into the $8,000 to $15,000 range quickly. The right choice depends on whether the wall is doing light duty or carrying the load for the whole lower level.
Use dead zones that would otherwise disappear
The best storage solutions often live in places people ignore. Under the stairs is the obvious one, but there are others: the edge of a mechanical room, the shallow strip beside a support post, the knee wall under a sloped ceiling, or the space above a hallway soffit. These spots are awkward for furniture, which makes them perfect for built-ins.
Under-stair storage can become deep drawers for luggage, a pull-out cabinet for wrapping paper, or a mix of cubbies and doors for sports equipment. A 14-inch-deep cabinet is often enough for winter gloves, helmets, and paper goods. If a furnace, water heater, or electrical panel lives nearby, keep clearance requirements in mind and never block service access. That is not just a code issue; it is a maintenance issue when something breaks on a Sunday night.
The important part is proportion. A small built-in that fits the geometry of the basement looks intentional. A freestanding shelf jammed into the same corner looks temporary. In older homes, that difference is what makes a basement feel designed rather than tolerated.
Close the clutter before it starts
Open shelving photographs well, but it is not always the smartest answer for storage solutions in a family basement. Dust settles. Labels peel. Boxes drift out of alignment. A shelf that looks neat the day it is installed can look messy six months later, especially if the room gets used by kids or doubles as a gym.
Closed fronts solve most of that. Flat-panel cabinet doors, simple shaker fronts, and sliding panels all hide the visual clutter that makes a basement feel busy. If the room includes a TV, bar, or guest sleep zone, I usually push harder toward closed storage because the eye needs someplace to rest. You can still use open niches for books, plants, or a few display pieces, but the bulk of the volume should disappear behind a door.
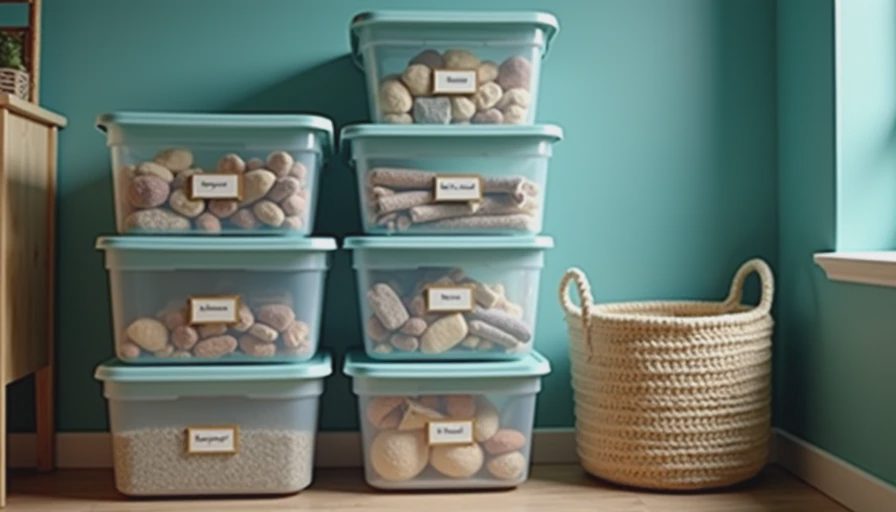
Labeling matters too. Clear bins with printed labels beat mystery cardboard every time. If the family needs quick access to board games, off-season shoes, or audio gear, group those items in one cabinet instead of spreading them across the room. That cuts the search time and keeps the basement from becoming a scavenger hunt.
Build for moisture, not just for looks
Basements live differently than the rooms above grade. Even a dry basement has cooler air, more concrete, and a higher chance of seasonal humidity swings. That is why the material choice matters as much as the layout. A lot of storage solutions fail because they are built from the same materials people would use in a bedroom closet. Particleboard swells. Cheap paper laminate chips. Cardboard bins soften if the dehumidifier is off for a week.
I prefer melamine, painted plywood, PVC trim, or powder-coated metal for the parts that live closest to the floor. I also like cabinet bases that sit slightly above the slab so small water events do not wick into the material. If the space is truly finished, a dehumidifier should be part of the plan, not an accessory. In Chicago, that is not a luxury item; it is a protection plan for the room.
Lighting matters here too. A dark storage wall makes every object harder to use, so I like LED strips under shelves or inside cabinets. Good light turns storage from a hiding place into a working surface. That is especially useful in basements that serve as laundry rooms, homework zones, or hobby rooms after dark.
Price the project in layers, not as one giant bill
The mistake I see most often is treating storage solutions as a single line item. In reality, they are usually a sequence. First comes the zone map. Then comes the cabinetry. Then comes the finish work, the lighting, and the hardware. If the budget is tight, start with the wall that solves the most pain and leave the rest for a later phase.
A phased plan might look like this: a modular wall for seasonal storage now, under-stair drawers later, and a custom bench or media cabinet once the rest of the room is in use. That approach keeps the basement functional while you keep building it out. It also lets you spend more where the room will be touched every day and less where the items sit untouched for months.
For homeowners comparing options, I usually put the numbers this way. A basic freestanding system can land under $2,000. A better modular installation may fall in the $3,000 to $6,000 range. Custom built-ins often start around $8,000 once carpentry, trim, and finish work are included. None of those numbers are wrong; they just solve different problems.
The right basement is not the one with the most storage. It is the one where storage disappears into the architecture and the room still feels generous. That is the standard worth aiming for.





No notes yet — write the first one.