Before I draw a single wall in a basement, I ask every client for their house layout. Not the basement plan—the layout of the floors above it. The reason is simple: that same drawing tells me where the stairs land, where the plumbing runs, and where the structure wants to be left alone. Once you learn to read that diagram, your basement design almost draws itself.
Why the Floor Plan Above Shapes the Floor Below
A basement is not a blank canvas. It is the underside of the house layout. Every wall above sends load down through the foundation, and every bathroom above sends waste down through the slab. If you ignore that, you end up with a home theater column in the middle of your seating area or a wet bar that needs a pump because the main drain is 20 feet away.
The best basement designers start by tracing the plan in three colors: red for structure, blue for water, and green for circulation. Structure means beams and columns. Water means supply and drain lines. Circulation means the stairs and any exterior door. When those three systems line up, the basement becomes an easy place to build rooms.
Three Things to Trace on Your Existing House Layout
Let’s walk through the three lines to trace on your floor plan. Use a printed copy and a highlighter.
The stair landing. Stairs are the hardest thing to move. If the drawing puts the basement stairs in a corner with a 90-degree turn, that turn often dictates your whole basement entrance. Measure the landing, the headroom, and the width. If the stairs come down in the middle of the future media room, don’t fight it—build around it with a pony wall or a built-in bookcase.
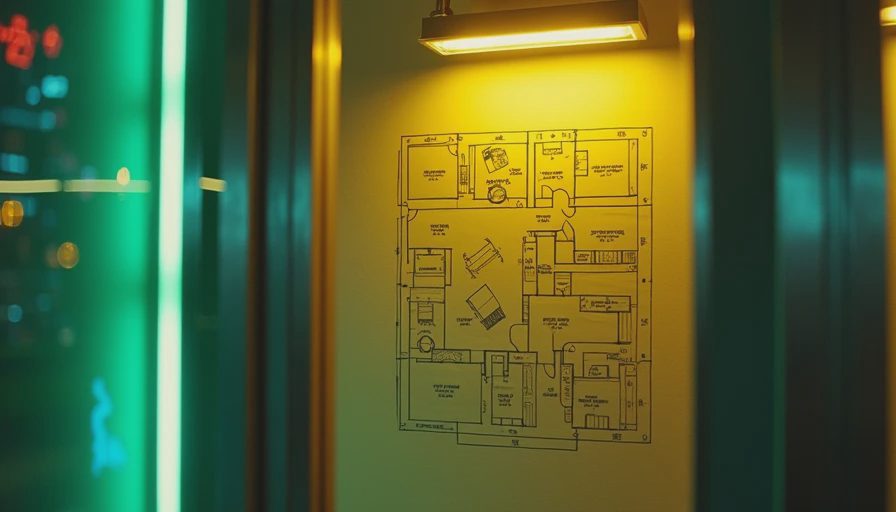
The plumbing stack. Every bathroom, kitchen, and laundry room above connects to a vertical drain stack. On the floor plan, that stack is almost always a straight line. Find where it passes through the basement ceiling. That point is your anchor for a basement bathroom or wet bar. Extending a drain runs much cheaper when you are close to the stack.
The load path. Look for beams, columns, and bearing walls on the drawing. In older Chicago houses, the center usually has a steel beam and a row of lally columns. That beam splits the basement into bays. You can build rooms inside those bays, but you can’t remove the columns without adding a bigger beam. Plan around them.
When you do this exercise on the plan, you’ll start to see a clear pattern. The rooms that make sense below are the ones that align with the systems above. A guest suite fits perfectly under the bedrooms. A workshop fits under the garage or back porch. A wine cellar fits under the front steps, where the foundation stays cool and dark.
Work With the Structure, Not Against It
Once you’ve traced the layout above, the next step is deciding how much to build. I usually tell clients to think in three phases. Phase one is the structure and mechanicals: insulation, drywall, flooring, and any new drain lines. Phase two is the finishes: paint, trim, lighting, and cabinetry. Phase three is the fun stuff: the bar, the theater seats, the hidden storage. Finishing a basement in phases is legitimate, and it staggers the cost across a few years.
A good designer or contractor will use the original floor plan to price each phase separately. In Chicago, basement finishing runs roughly $50 to $100 per square foot, so a 700-square-foot project could land anywhere from $35,000 to $70,000. That number looks less scary when you split it into three phases.
A Quick Example: A Chicago Two-Flat
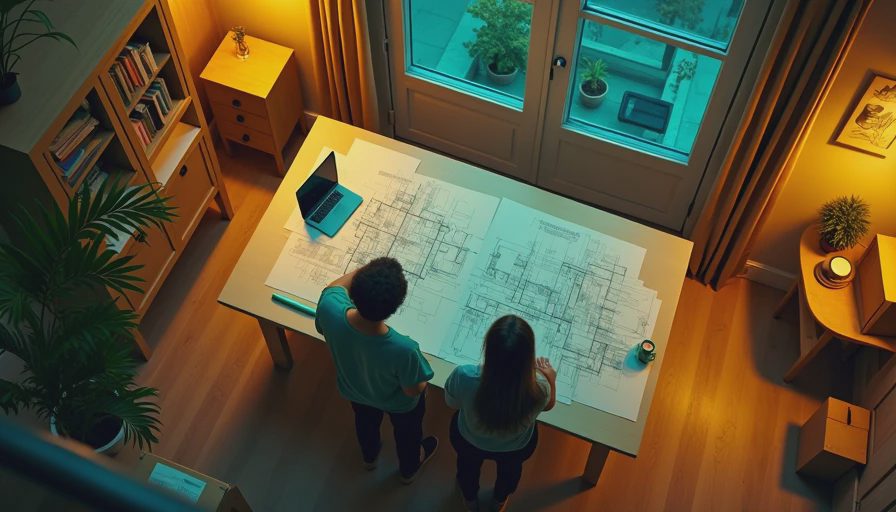
Here’s a recent project. A family in Lincoln Square bought a 1920s two-flat with an unfinished basement. The house layout showed a central stair, a single bathroom stack on the north wall, and a steel beam running east-west. The client wanted three things: a home gym, a kids’ playroom, and a guest bedroom.
On paper, that looks like three rooms fighting for one space. But reading the original floor plan made the answer obvious. The playroom went into the south bay, under the living room, where the ceiling was free of pipes. The gym went into the north bay, under the bathroom, so a small half-bath and a slop sink could tie into the existing stack. The guest bedroom nested along the east wall, where the foundation windows gave the only real natural light.
The total was 850 square feet, and the build came in at $61,000. That included a new egress window for the bedroom, insulation, drywall, a bathroom rough-in, and enough soundproofing that the kids’ playroom didn’t shake the dining room above. None of that would have worked without understanding the floor plan first.
What Your House Layout Won’t Tell You
Your house layout won’t tell you the ceiling height, the condition of the foundation, or whether there’s a radon system in place. Those are site conditions I check on the first walkthrough. But the original drawing is where every good basement plan starts. It shows you the bones, and bones are easier to work with than to fight.
How to Get Started
Grab a copy of the original drawing—usually from the blueprints, your tax assessor’s office, or a recent home survey. If you can’t find one, sketch the floor plan of the first level and note where the stairs, bathroom, and exterior walls sit. That sketch is 80 percent as useful as the official drawing.
If you’re in the Chicago area and you’re ready to turn your basement into real rooms, bring me your house layout. I’ll walk through it with you on a video call and show you which spaces are worth building. We’ll go from a flat diagram to a floor plan you can actually live in.





No notes yet — write the first one.