A skilsaw table saw can become the organizing tool in a basement workshop, but only if the room is planned around it. In an older Chicago basement, I would not begin by ordering lumber or framing walls. I would draw the saw, its infeed path, its outfeed path, and the clear space needed to handle a full sheet of plywood. That simple diagram often determines whether the workshop feels capable or permanently cramped.
The goal is not to create a contractor's shop below grade. Most homeowners need a reliable station for shelving, utility cabinets, workbenches, trim, and occasional furniture projects. The right saw gives you repeatable cuts without consuming the entire basement. The wrong one becomes an obstacle that blocks the furnace, narrows a hallway, and collects dust in a corner.
Which skilsaw table saw fits the room?
SKILSAW makes several jobsite-oriented saws, and their differences matter more in a basement than they do in a driveway. The SPT99-11 is the substantial option. Its 15-amp motor, worm-drive gearing, rolling stand, and large ripping capacity suit cabinet panels and long framing stock. It is powerful and stable, but the stand and footprint demand a dedicated zone. Allow roughly 8 feet of usable length in front and behind the blade for comfortable work, then add side clearance for wide panels.
The SPT99-12 offers a similar heavy-duty direction in a more portable package, while smaller models such as the SPT70WT-01 are easier to carry and store. A compact skilsaw table saw can make sense when your basement work is limited to shelves, narrow boards, and repair projects. Its smaller table will feel restrictive when you are breaking down 4-by-8 sheets. Do not confuse a portable saw's published rip capacity with the amount of room you actually need to use it safely.
Measure the stairwell before purchasing. A basement door may accept the saw, but a tight turn at the bottom can make a rolling stand surprisingly awkward. I also measure the distance from the proposed station to the electrical panel, sump pump, and mechanical equipment. Workshop convenience should never require stepping over cords or placing sawdust where a furnace needs clean air.
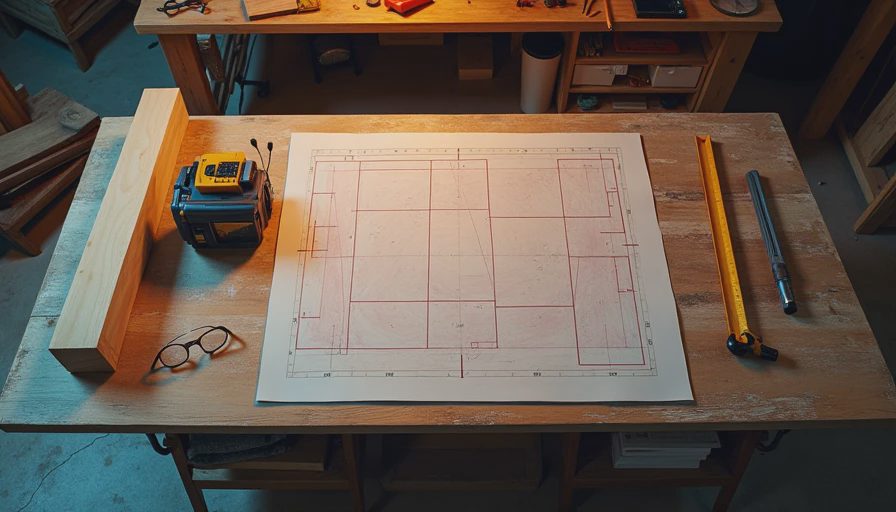
Draw the cutting zone before finishing the basement
A table saw needs more than its tabletop. Draw a rectangle for the machine and a second, much longer rectangle for the material path. For a 96-inch sheet, the cutting zone can easily extend 16 feet when you account for both sides of the blade. You may not need that full dimension for every cut, but the room should provide a safe way to support long stock without catching an edge on framing or storage.
In a narrow basement, place the saw parallel to the longest wall. Put a folding outfeed table behind it and use a mobile base if the model allows one. The station can then serve as a workbench when the blade is covered and the saw is unplugged. In a wider room, position the saw perpendicular to a wall and keep one side open for plywood handling. This creates a more efficient work triangle with the miter saw, assembly bench, and lumber rack.
Avoid placing the saw directly beside a basement stair landing. That area is a circulation route, not leftover floor space. A person carrying laundry should not cross the cutting zone, and a child should not be able to reach the controls while someone is measuring stock. Good layout is a safety feature before it is a storage strategy.
Power, dust, and the realities below grade
A skilsaw table saw typically uses a 15-amp circuit, and a motor starting under load can expose a weak extension cord or overloaded circuit. Have an electrician evaluate the circuit rather than relying on a long, lightweight cord. Keep the cord away from the blade path and provide enough slack for stand adjustment without leaving a loop across the floor.
Dust control is especially important in a basement. Fine sawdust settles on joists, tools, and mechanical equipment, and humid lower levels can turn that layer into a persistent odor problem. Connect the saw to a compatible dust collection setup, then add a shop vacuum with a suitable filter. A small portable collector is often adequate for occasional work; a larger system makes sense when the room supports frequent cabinet building.
Seal gaps around the workshop only after planning ventilation. A finished basement needs deliberate air movement, not an airtight box around a dusty machine. If the room includes a guest area, office, or play space, separate it with a door and use a dust-rated air cleaner. That allows one basement to serve several functions without asking every room to tolerate workshop debris.
Features worth paying for
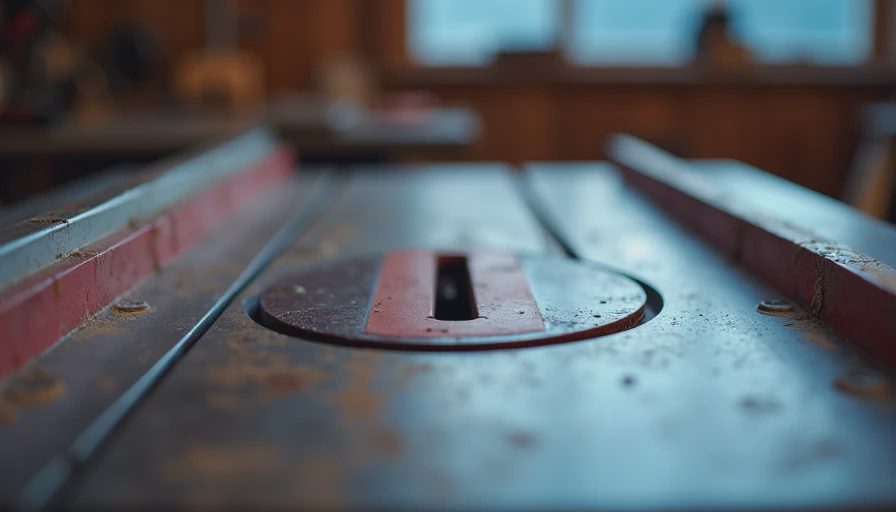
The most valuable feature on a skilsaw table saw is not a flashy accessory. It is a fence that locks square and stays parallel to the blade. A poor fence turns a simple cabinet side into a tapered part. Test the fence adjustment, read the scale carefully, and confirm that it can be aligned without excessive force.
A riving knife helps keep the kerf open behind the blade and reduces the chance of material binding. Use the blade guard and anti-kickback components whenever the cut allows. A soft-start motor, stable stand, and large height adjustment wheel also improve control. For basement work, onboard storage for the fence, miter gauge, and power cord prevents loose parts from migrating onto a walking path.
Budget for a quality combination blade, push sticks, hearing protection, eye protection, and a proper respirator or dust mask suited to the material. A saw priced near $600 can become an $800 setup after accessories, electrical work, and dust collection. That is still less than many built-in renovation features, but it deserves a line in the basement budget.
A phased workshop plan
You do not have to finish the whole basement before buying a skilsaw table saw. I often recommend a three-stage approach. First, establish a safe temporary station on a sealed concrete floor, with lighting, power, and dust control. Second, build storage and an outfeed bench once you understand how much material you actually process. Third, finish nearby walls and add sound control after the saw's permanent location is proven.
This sequence protects the design from guesswork. A homeowner may expect to build large bookcases, then discover that most projects are narrow closet shelves. Another may begin with a tiny bench and later need a full plywood breakdown area. A modular station handles both changes better than a fixed counter wrapped around the machine.
If the basement also needs a home theater, gym, or office, map those functions first. Keep the workshop near the utility side of the plan, where durable flooring and unfinished access are practical. Leave the quieter rooms farther away, and use doors, resilient channels, or dense wall assemblies where noise matters. One well-placed saw can support the rest of the renovation; it should not dictate every room.
My buying checklist
Before ordering, measure the stairs, door openings, ceiling height, and longest uninterrupted wall. Mark the blade line on the floor with painter's tape and simulate a plywood cut using a sheet of cardboard. Confirm circuit capacity, dust collection space, lighting, and a safe storage location for blades and offcuts.
Then compare the saw's actual use. Choose the larger SPT99 platform when you regularly work with sheet goods, framing lumber, or built-ins. Choose a lighter skilsaw table saw when portability and compact storage matter more than maximum capacity. Read the manual for required clearances and setup instructions, and make your first cuts with scrap material while you learn the fence and guard adjustments.
A basement workshop succeeds when every tool has a reason to occupy the floor. Draw the cutting path, protect the air, and plan for the project materials you genuinely use. With that discipline, a skilsaw table saw becomes more than a machine: it becomes the precise center of a flexible lower level that can build shelves today and support a larger basement transformation tomorrow.





No notes yet — write the first one.