diy finish basement: a practical plan for real rooms below grade
A diy finish basement works best when you treat the lower level like a second floor, not a bonus closet. The order matters. Before you pick paint colors or pendant lights, figure out moisture control, ceiling height, mechanical clearance, and the jobs the space has to do. In older Chicago homes, I have seen a basement become a media room, a guest suite, and a small office by making one clear layout decision early. That kind of plan saves money because walls, wiring, and ductwork stop fighting each other.
Start with the shell, not the pretties
If the concrete walls sweat after a storm, or the slab feels damp in summer, pause before you frame anything. Water is a structure problem first and a finish problem second. A solid basement plan starts with drainage outside, then a dry interior wall assembly, then insulation. That usually means patching cracks, checking the sump pump, and using rigid foam or another approved wall system that does not trap moisture against the foundation. In a diy finish basement, the cleanest-looking room is not the one with the fanciest trim. It is the one that stays dry in March and August.
Ceiling height is the next filter. Once you add framing, drywall, and mechanical boxes, a 7-foot basement can feel tighter than it looked on day one. I like to map every beam, duct, and pipe before a single stud goes up. If a soffit has to exist, make it read as a deliberate line, not a random drop. That is the difference between a room that feels planned and a room that feels squeezed.
Decide which rooms deserve the best square footage
In a diy finish basement, the room mix should match the way your house fails upstairs. If the main level is already crowded, give the basement the functions that need privacy, sound control, or storage. A media room wants the darkest wall and the fewest windows. A home office wants a quiet corner near the stair landing. A guest room needs a legal egress path and enough width for a real bed, not a futon squeezed between mechanicals.
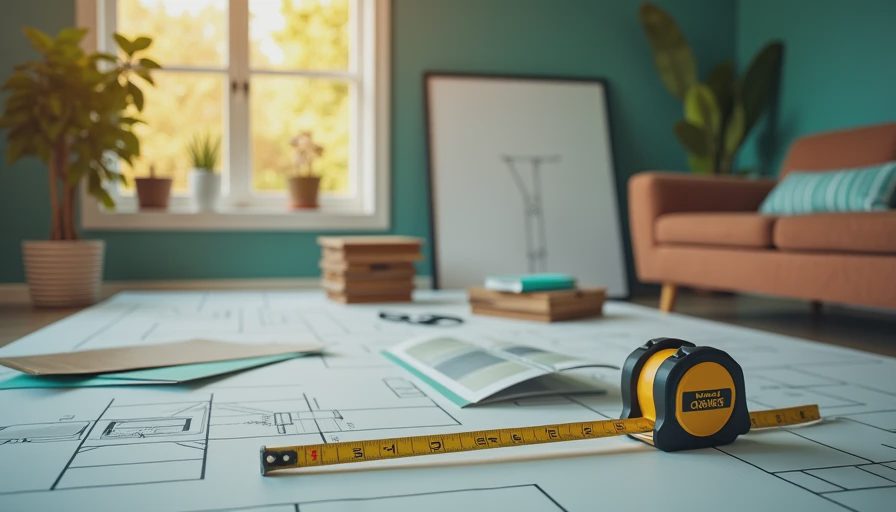
Multi-use planning is where basements earn their keep. A built-in bench can hide toy storage by day and hold extra seating at night. A small wet bar can also serve as a coffee station. A desk niche can sit inside a larger flex room so one space supports work, homework, and overflow guests. When I sketch a diy finish basement, I usually draw the hardest functions first, then let the softer ones wrap around them. That keeps circulation clear and stops the plan from turning into a maze.
Put the rough-in money where you will feel it
The smartest money in a diy finish basement goes into the rough-in, because drywall hides mistakes forever. Electrical, plumbing, and HVAC are the systems you live with every day, even if you never see them again. A basic basement electrical package can land in the low thousands once you add outlets, lighting circuits, and a proper subpanel if needed. A bathroom rough-in can add several thousand more before tile or fixtures. If you want a sink in the bar now or a full bath later, stub the lines before the walls close.
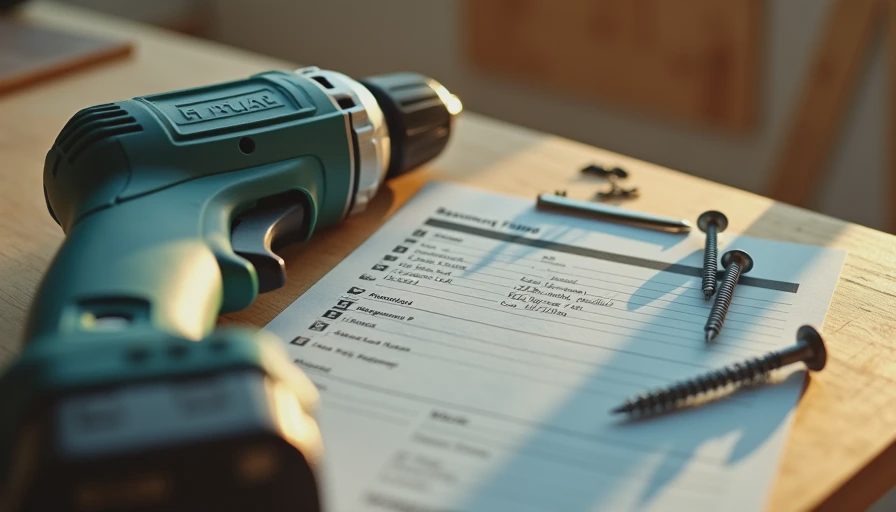
This is also the point to think about permits and inspections. Framing a room is easy; proving that the stair handrail, smoke detectors, bedroom egress, and bathroom venting are all correct is where many DIY jobs bog down. If you are hiring out only one or two trades, make it the ones that affect safety and resale the most. A licensed electrician and a good HVAC contractor can save you from a finished ceiling that has to come back down.
Use materials that can handle a basement year after year
Materials matter more in a diy finish basement than upstairs because the environment is less forgiving. Concrete wants to stay cool. Air wants to condense on cold surfaces. Floors want to wick what they can find. That is why a good basement floor usually starts with a moisture-smart subfloor, then a finished surface such as luxury vinyl plank, tile, or engineered wood if conditions are right. Products like DRIcore are common because they create a small thermal break and help the floor feel less like a slab.
On the walls, the goal is durability without overcomplication. Closed-cell spray foam, rigid foam, or another code-compliant assembly can do the heavy lifting behind the drywall. For sound control, mineral wool in interior partitions is worth the extra cost, especially around a theater, office, or guest room. Use solid-core doors where privacy matters. Choose paint that can handle cleaning. None of this is glamorous, but it is what keeps the basement from becoming a once-a-year project after the first humidity swing.
Light and air make the basement feel intentional
A basement can be dry and still feel dim, which is why lighting deserves a real plan. Recessed LED wafers are useful, but they should not be the only layer. Add wall washers, task lights at desks or bars, and a few lamps so the room has depth at night. Warm white bulbs around 2700K to 3000K usually feel better below grade than harsh daylight tones. If ducts force a lower ceiling, low-profile fixtures keep the room from feeling chopped up.
Air matters just as much. A dehumidifier set for the season, a quiet return path for conditioned air, and a window well that actually brings in daylight all change how the room is used. When possible, use glass doors or open sightlines to borrowed light from a stairwell or adjacent room. In a diy finish basement, the goal is not to pretend the lower level is above grade. The goal is to make it feel calm, bright enough, and easy to occupy for more than an hour at a time.
Know when to stop DIY and call in help
There is a point where a diy finish basement stops being a weekend project and becomes structural work. If you need to cut a new egress window, move a bearing line, reroute a main drain, or lower a slab, bring in a pro before you frame around the problem. Those moves affect structure, waterproofing, and code all at once. The same goes for old houses with crowded joists, mystery plumbing, or an electrical panel that is already maxed out.
A recent Chicago basement I worked on was phased in three steps: first the dry shell, then the office and bath rough-in, then the media room and built-ins a year later. That approach kept the house usable and the budget sane. Not every lower level needs to be finished all at once. If you sketch the full plan first, you can build one strong room now and leave the next one ready for later. That is usually the smartest way to approach a diy finish basement if you want the result to feel like part of the house, not an afterthought.




No notes yet — write the first one.