DIY shelves are one of the fastest ways to make an unfinished basement useful without committing to a full renovation. I have used them in Chicago basements as pantry storage, workshop cabinets, toy shelves, and even part of a media room wall. The important part is not simply adding boards. It is deciding what the shelves must hold, where they can go, and how they will coexist with pipes, ductwork, doors, and the occasional damp masonry wall.
A good basement storage wall should feel intentional rather than improvised. Before buying lumber, measure the room, sketch the elevation, and mark every obstruction. A 24-inch-deep unit might be perfect for plastic bins but awkward beside a stair landing. In many older homes, 16 to 18 inches is enough for paint cans, books, tools, and folded equipment while preserving a clear walking path.
Plan DIY Shelves Around the Basement Layout
Start with a simple plan view. Draw the foundation walls, stairs, furnace, water heater, sump pump, windows, and electrical panel. Then draw the storage footprint. This ten-minute diagram prevents a common mistake: building a handsome shelving unit that blocks the only route to a shutoff valve or leaves no room to service the furnace.
DIY shelves work best when their depth matches their job. A 12-inch-deep shelf handles books, small bins, and cleaning supplies. A 16-inch shelf accommodates larger totes. A 24-inch shelf is useful for bulky seasonal items, but it becomes difficult to reach unless the heaviest objects stay near the front. Keep at least 30 inches of walking clearance in front of storage, and give doors and utility equipment more room when the manufacturer requires it.
In a basement with a seven-foot ceiling, vertical storage is valuable, but do not automatically build to the joists. Leave access beneath low ductwork and avoid creating a dark, crowded ceiling line. I often use a 72-inch-tall unit under open framing, then reserve the upper wall for labeled boxes that are rarely used. That division makes the room easier to navigate and easier to maintain.
Choose Materials That Can Handle Basement Conditions
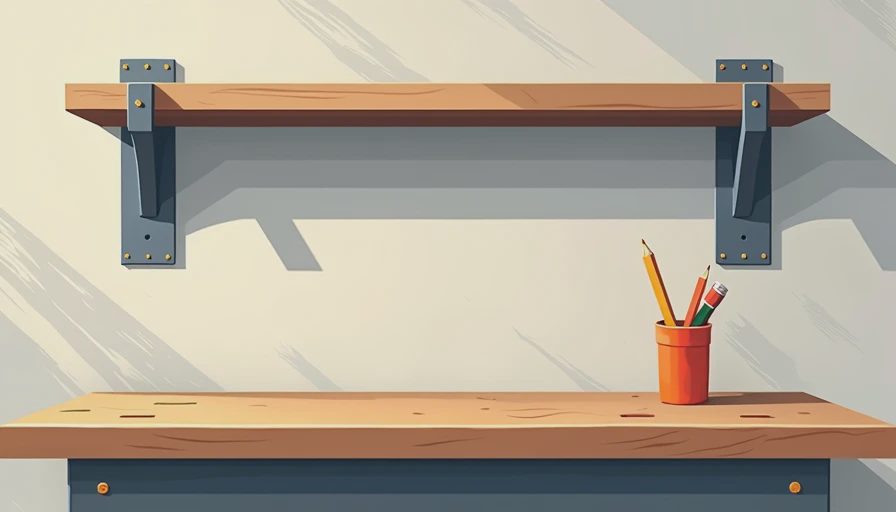
The safest approach for DIY shelves is to keep untreated wood away from concrete floors and questionable exterior walls. Concrete can transmit moisture even when the room looks dry. Set the bottom shelf at least four inches above the floor, or build the entire unit on pressure-treated sleepers, masonry blocks, or a properly fastened raised platform.
For most projects, 3/4-inch plywood is a dependable shelf material. It holds screws better than particleboard and can be painted, stained, or left with an exposed edge. Melamine-coated particleboard is economical and easy to wipe clean, but long spans can sag under books or tools. If using it, add a front edge strip or reduce the span to roughly 30 inches. For a workshop, 2-by-4 framing with plywood shelves is stronger and often costs less than heavy-duty metal racks.
Use galvanized or coated fasteners where humidity is a concern. A basic paint-grade plywood shelf may cost $15 to $35, while a complete eight-foot storage wall with framing, finish, and hardware can land around $250 to $600. Buying standard sheet sizes and designing around them reduces waste. I prefer a limited palette of plywood, black steel brackets, and one wall color because it looks designed even when the work is completed in phases.
Build DIY Shelves for the Load They Carry
Estimate the load before choosing the structure. Holiday decorations are light but bulky. Canned food, tile samples, cast-iron tools, and full paint cans are much heavier. A shelf that holds folded linens does not need the same support as a workbench storage wall. Add a center support to long shelves, and attach tall units to wall framing or masonry so they cannot tip.
A practical construction sequence is straightforward. Cut all components first, label each piece, assemble the side frames on a flat surface, install shelves from the bottom upward, and check for square before tightening every screw. Shim the base rather than forcing a leaning wall to look level. In an older Chicago basement, the floor may slope noticeably toward a drain; accommodating that slope at the bottom is cleaner than disguising it later with crooked shelf faces.
For freestanding DIY shelves, use a ledger or anti-tip bracket at the top. If the wall is concrete block, choose masonry anchors rated for the load and avoid anchoring into mortar joints when possible. If the wall is framed, locate studs instead of relying on drywall anchors. A shelf failure is rarely caused by the board itself; it usually starts with an undersized fastener or an unbraced tall frame.
Make Storage Serve More Than One Room
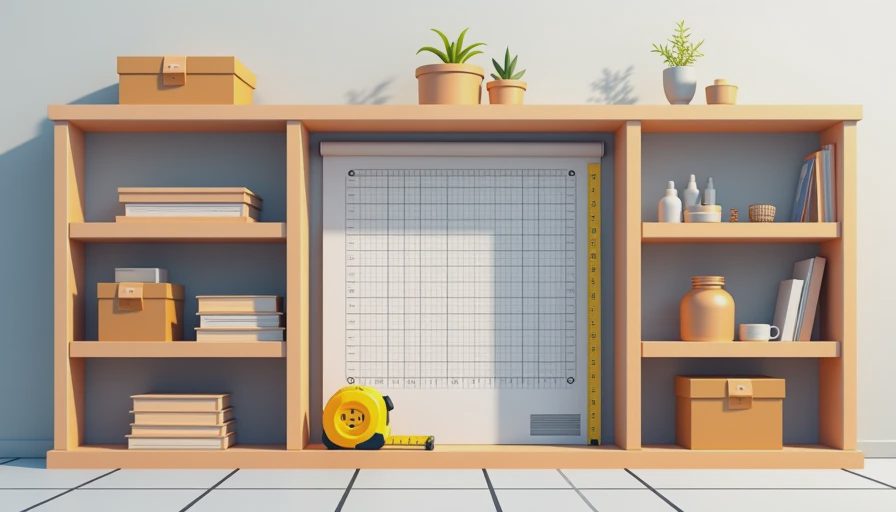
The strongest basement plans give one installation two or three jobs. DIY shelves beside a laundry area can hold detergent, linens, and a folding countertop. Near a home office, a 12-inch-deep unit can store files below and display books above. In a kids' zone, low shelves make toys accessible while the upper section holds craft supplies out of reach of toddlers.
I also like using a storage wall to divide spaces without building a full partition. A 16-inch-deep shelf unit can separate a workout area from a utility corridor while preserving light and circulation. Leave the back open only when both sides are safe and finished. Otherwise, use plywood backs or painted hardboard to stop objects from rolling into equipment and to give the divider a more architectural presence.
Do not place fabric, paper, or electronics directly against a cold exterior foundation wall. Leave a small air gap and monitor the space through one wet season before filling it. A hygrometer costing about $10 can reveal humidity patterns that your eyes miss. If the basement has recurring leaks, condensation, or a musty smell, solve that condition before installing valuable storage.
Finish DIY Shelves Without Overbuilding
Paint is the simplest finish, but preparation matters. Sand plywood edges, fill exposed screw holes, prime every face, and use a durable satin interior paint. For a workshop, a clear water-based polyurethane protects plywood while preserving its warm color. For a clean utility room, white shelves improve visibility and make labels easier to read.
Add adjustable shelf pins where contents will change. Fixed shelves are stronger and faster, but adjustable spacing makes the unit useful after your storage habits evolve. I usually keep one tall opening for a vacuum, one medium opening for bins, and several shorter openings for small containers. Labeling each zone is more effective than building extra capacity that becomes a pile of unmarked boxes.
DIY shelves do not need to look like a temporary fix. Align the front edges, repeat the same spacing, hide unnecessary hardware, and stop the installation at a logical architectural line. A simple painted plywood wall can look more resolved than an expensive collection of mismatched racks.
A Sensible Basement Storage Sequence
Build one test bay before committing to an entire wall. Load it with the real items, walk past it with a laundry basket, open nearby doors, and confirm that valves and panels remain reachable. This small experiment exposes bad depths and inconvenient heights while changes are still inexpensive.
Then complete the work in phases: structure first, finish second, organization last. That approach keeps a $300 storage project from becoming a $3,000 renovation by accident. Whether the basement eventually becomes a theater, office, gym, or guest suite, well-planned DIY shelves can support the next use instead of fighting it. Draw the layout, respect the building systems, and let every inch of storage earn its place.


No notes yet — write the first one.