DIY garage shelves are most successful when you treat them as a small architectural project rather than a quick weekend pile of lumber. The goal is not simply to add storage. It is to create a clear wall system that holds tools, paint, seasonal bins, and household equipment without stealing the floor area you need to walk, work, or park. In an older Chicago basement or narrow attached garage, that distinction matters.
Start with the wall, not the shopping list
Before buying brackets or plywood, measure the wall from floor to ceiling and mark every obstruction. Note electrical outlets, windows, pipes, furnace clearances, garage door tracks, and the swing of any entry door. A shelf that looks efficient on paper can become useless if it blocks the only outlet or leaves no room to remove a furnace filter.
For most homes, a shelving depth between 16 and 24 inches is enough. Sixteen inches works for labeled storage tubs and hand tools. Twenty-four inches accommodates larger bins, compact shop vacuums, and small appliances, but it also creates a deeper reach into the shelf. I prefer 18 inches for a mixed-use wall because it provides capacity without making the room feel compressed.
Mark a vertical “no storage” zone around equipment. A water heater, electrical panel, gas meter, and furnace each need service access based on local code and manufacturer instructions. Do not build a handsome cabinet that forces a technician to dismantle half the room. Storage should support the house, not interfere with it.
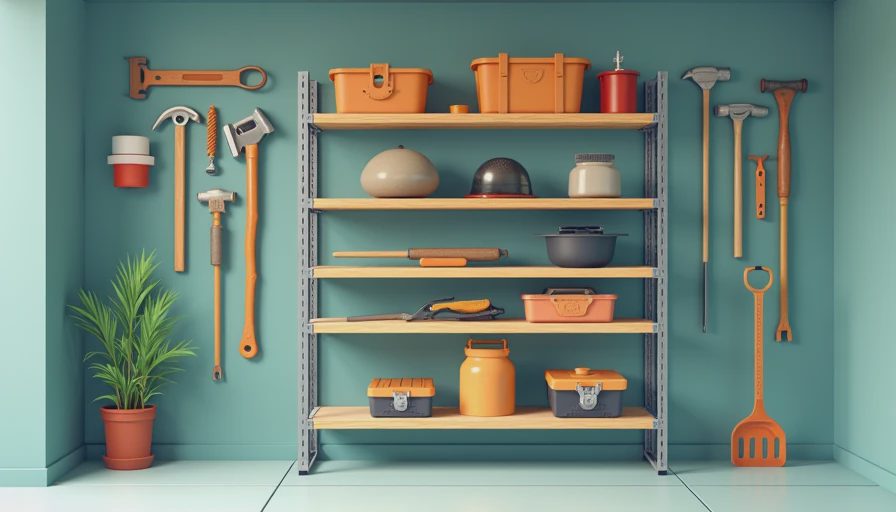
Choose a structure that matches the load
The cheapest DIY garage shelves usually use 2x4 lumber for the frame and 3/4-inch plywood for the shelf surfaces. That combination is forgiving, easy to repair, and strong enough for many household loads when the frame is properly supported. A 4-by-8-foot sheet of construction plywood often costs less than premium cabinet plywood, though the edges will need sanding and sealing.
For lighter bins, a wall-mounted cleat system can work well. A horizontal 2x4 ledger fastened into studs carries the back of the shelf, while front supports or steel brackets carry the projection. This keeps the floor open and makes sweeping easier. In a workshop, I often use a second lower ledger and short diagonal braces rather than relying on decorative brackets that were designed for much lighter loads.
Freestanding units make sense when you rent, have masonry walls, or expect the layout to change. A 2x4 frame with legs every 32 to 48 inches is a practical starting point. Add a back brace or plywood back so the unit cannot rack sideways. A tall shelf that wobbles is not merely annoying; it becomes dangerous when a child, ladder, or shifting bin applies force to it.
Steel shelving from brands such as Husky, Gladiator, and NewAge Products can be a useful comparison point. These systems cost more than basic lumber, but they assemble quickly and offer adjustable levels. DIY garage shelves become more economical when you already own a saw, drill, clamps, and a vehicle for hauling materials. If you must buy every tool, a modular kit may deliver better value.
Draw the storage zones before you build
Divide the wall into categories instead of spreading everything evenly. Place heavy items such as bags of salt, power tools, and paint cans between knee and shoulder height. Put lightweight seasonal decorations on the highest shelf. Reserve the lowest level for bins that can tolerate dust, or raise that shelf several inches above the floor in case of minor water intrusion.
A useful arrangement is a 24-inch-deep work zone beside 18-inch-deep general storage. The deeper section can hold a miter saw or compressor, while the shallower section keeps access clear near a doorway. Add a narrow vertical bay for ladders, folding chairs, and long-handled tools. This is often more valuable than adding another horizontal shelf.
Allow at least 30 to 36 inches for a comfortable walking aisle. If a car shares the garage, tape the proposed shelf footprint on the floor and park the vehicle before committing. Open the trunk, walk around both sides, and test whether a bicycle can pass. A drawing gives you dimensions; painter’s tape reveals whether the room still works.
The best DIY garage shelves also leave some empty capacity. Filling every inch on day one guarantees that the first new tool becomes a floor obstacle. I aim for roughly one open shelf bay in every four. That spare volume absorbs future purchases and keeps the visual field calm.
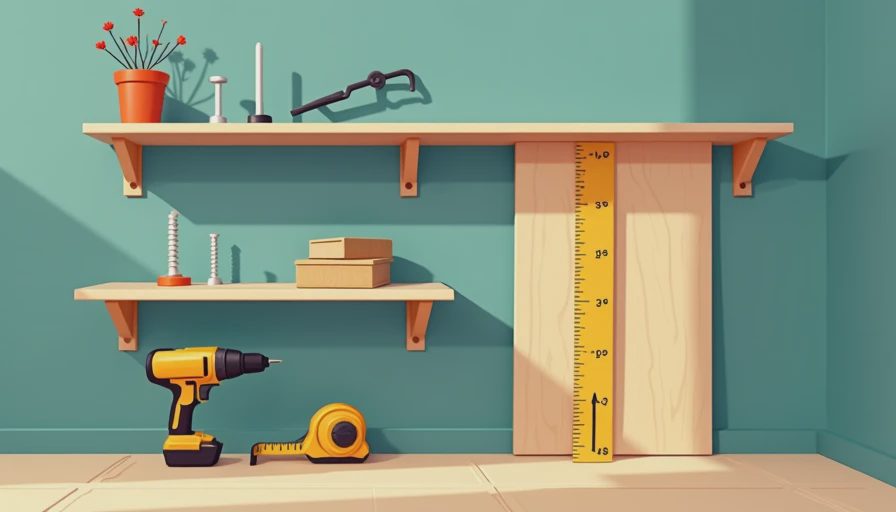
Build safely and finish for the environment
Locate studs with a finder, then confirm them with a small pilot hole. Fasten structural ledgers into studs with appropriate structural screws, not drywall screws. When attaching to concrete or masonry, use anchors rated for the wall type and expected load. The fastener is part of the shelf system; a strong board attached poorly is still a weak shelf.
Sand plywood edges, especially where storage bins will be lifted repeatedly. A coat of porch and floor paint, polyurethane, or durable water-based enamel helps resist grime and occasional moisture. In a damp basement, avoid sealing wet materials into a tight cabinet. First address leaks, condensation, or poor ventilation. Shelving cannot correct a humidity problem, and cardboard stored against a cold wall will eventually show it.
Keep the heaviest load near the supports and avoid long unsupported spans. A 4-foot shelf span is easier to keep rigid than an 8-foot span. If a plywood shelf feels springy before it is loaded, add a center support or a front-edge 2x4 stiffener. Do not estimate capacity from appearance alone; distribute weight and use conservative limits.
A phased budget that makes sense
A basic eight-foot wall may use several 2x4s, one or two plywood sheets, structural screws, paint, and brackets. Depending on lumber prices and what you already own, a simple build can land around $150 to $350. Adding heavy-duty casters, drawers, metal uprights, or finished cabinet doors can push the project above $600 quickly.
I would spend money first on anchoring, shelf thickness, and lighting. A $25 LED shop light can make every bin easier to identify, while decorative trim rarely improves function. Labeling costs little and saves time: use large, consistent labels such as “plumbing,” “winter,” “electrical,” and “camping.” Clear bins are convenient for small parts, but opaque bins often protect seasonal goods from light and dust better.
Build one eight-foot section before reproducing it across the room. That first bay will expose awkward outlet locations, the ideal shelf spacing, and whether your chosen bin actually fits. A phased plan also lets you use the garage while construction continues rather than turning the entire basement or garage into a temporary lumber yard.
The finished room should support real life
Well-planned DIY garage shelves do more than remove clutter. They create a reliable edge around the room, leaving the center flexible for parking, repairs, laundry overflow, or a future workbench. In a basement, that open center could later become a gym corner, a photography table, or a small workshop without rebuilding the storage wall.
Before loading the shelves, inspect every connection, push the unit gently to test movement, and confirm that doors and service panels remain accessible. Put heavy bins low, label the contents, and leave a little room for change. Then take a photograph of the completed wall before it fills up; that image becomes a useful reference when you need to return an item months later.
The strongest DIY garage shelves are not the most elaborate. They are the ones proportioned to the room, attached to the structure, and planned around how the household actually moves. Draw the wall first, build one section carefully, and let the storage earn its square footage.


No notes yet — write the first one.