Framing basement walls is the moment an unfinished lower level begins to feel like part of the house. Done well, it creates a warm, dry shell for a guest room, home office, theater, gym, or flexible playroom. Done too quickly, it can hide moisture problems, waste precious ceiling height, and force awkward furniture layouts. I begin every basement project by drawing the room, utility zones, and walking paths before choosing a single stud.
Start With Moisture, Not Lumber
Before framing basement walls, inspect the foundation carefully. Look for white mineral deposits, damp corners, peeling paint, musty odors, and cracks that change after heavy rain. A dehumidifier can improve the air, but it cannot solve water entering through a foundation wall. Exterior drainage, gutters, grading, sump equipment, or professional waterproofing may need attention first.
Older Chicago basements often have uneven masonry, exposed pipes, and floors that slope toward a drain. Those conditions are manageable, but they influence the plan. Keep access to the main water shutoff, electrical panel, furnace, and cleanouts. A framed wall should not turn routine maintenance into demolition.
I also leave a small service gap between framing and masonry when conditions require it. This creates room for insulation and reduces direct contact with a potentially damp wall. Pressure-treated bottom plates are commonly used where wood meets concrete, with an appropriate sill gasket beneath the plate to limit moisture transfer. Local building requirements still govern the exact assembly.
Choose the Right Wall Assembly
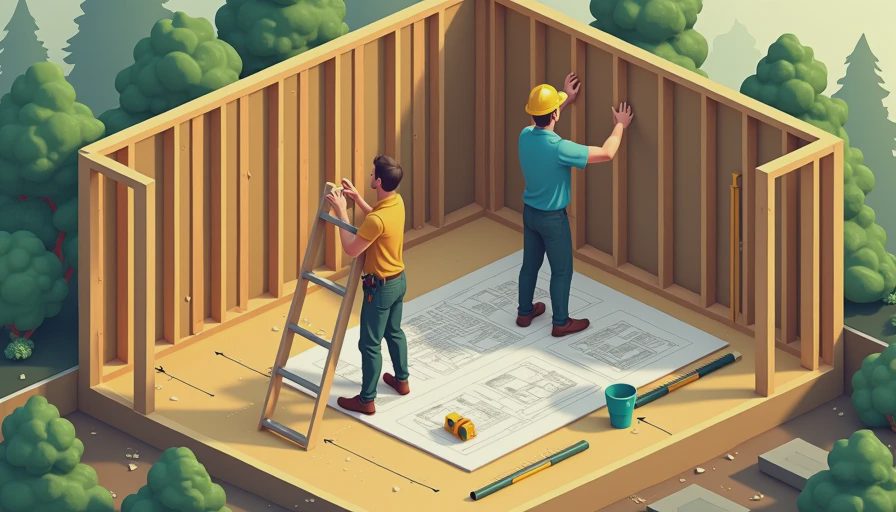
Framing basement walls usually means building non-load-bearing partitions, not altering the structure that supports the house. That distinction matters. A typical wall may use 2-by-4 studs, fiberglass or mineral wool insulation, electrical boxes, drywall, and carefully sealed edges. Rigid foam or closed-cell spray foam can also be part of the insulation strategy, especially when the foundation wall is irregular.
Do not assume fiberglass batts alone are the best answer against concrete. If humid air reaches a cold foundation surface, condensation can develop inside the wall. The assembly needs a sensible moisture and air-control layer, not simply more insulation. A basement professional can help match the approach to your climate, foundation type, and local code.
Pay attention to ceiling height. A 2-by-4 wall with drywall can consume roughly five inches from the foundation face, and furring, insulation, or utility chases can take more. In a basement with a seven-foot ceiling, that loss is visually significant. Sometimes a narrower assembly in a dry area preserves better proportions, while a thicker insulated wall belongs on the exterior foundation walls.
Lay Out Rooms Around Real Furniture
The best basement plans are drawn from the inside out. Place the sofa, desk, bed, exercise equipment, or bar stools first, then draw the walls around those objects. A media room may need about three feet of circulation behind seating. A home office needs space for a chair to pull back without blocking the door. A guest room needs a practical bed location, closet storage, and a clear route to the stairs.
When framing basement walls, avoid creating a collection of narrow leftover rooms. One generous multipurpose room can serve as a television lounge by night and a homework or exercise zone by day. A partial-height divider, built-in cabinet, or ceiling change can define those uses without closing off the entire floor.
Doors deserve the same attention as furniture. A door that swings into a bathroom vanity or blocks a mechanical closet is a daily irritation. Pocket doors can help, although their wall cavities require careful coordination with plumbing and electrical work. Mark every opening full-size on the slab before the crew starts fastening plates.
Plan Electrical, Plumbing, and Lighting Early
Framing basement walls gives you a brief window to coordinate every service hidden behind the drywall. Mark outlet heights, switch locations, data wiring, speaker cable, television backing, and under-cabinet power before insulation begins. Add blocking between studs wherever a television, handrail, wall cabinet, grab bar, or heavy shelf will attach.
A basement ceiling often contains ductwork, drain lines, and beams at different elevations. Rather than dropping the entire ceiling to one low plane, frame selective soffits around the largest obstructions. This preserves height where people walk and creates architectural order around unavoidable infrastructure. Recessed lights are useful, but low-profile surface fixtures can be easier to service and better suited to shallow ceiling cavities.
If a bathroom or wet bar is part of the long-term plan, locate it near existing plumbing when possible. Moving a drain across the basement floor can add substantial excavation and labor. A phased plan might frame the future room now, install capped plumbing, and finish the space later when the budget allows.
Estimate the Cost Before Closing the Walls
For a straightforward basement, the framing portion may run from roughly $12 to $30 per linear foot, depending on access, wall height, insulation requirements, and the amount of detail. That is only one part of the project. Insulation, electrical work, drywall, fire blocking, doors, flooring, permits, and painting can quickly exceed the lumber budget.
A useful early estimate separates work into four columns: moisture correction, infrastructure, enclosure, and finishes. For example, framing basement walls in a 900-square-foot lower level may be relatively affordable, while a new bathroom, upgraded electrical service, custom millwork, or extensive concrete cutting changes the total dramatically. Get line-item proposals rather than one unexplained allowance.
Do not spend the entire budget on visible finishes. A durable luxury vinyl plank floor is less exciting than a dramatic tile pattern, but a properly insulated and air-sealed wall protects the comfort of every room. The money behind the drywall often delivers the greatest daily value.
Build in Phases Without Losing the Design
You do not have to finish every square foot at once. I have seen successful basements begin with a clean office and storage room, then expand into a guest suite or media area a year later. The important requirement is to draw the complete future plan first. That keeps the first phase from blocking stairs, utilities, windows, or the eventual bathroom.
When framing basement walls in phases, complete shared systems early where practical. Run conduit for future data, leave accessible shutoffs, coordinate duct branches, and install proper fire blocking at the correct stages. A temporary finished wall should not become an obstacle to the final layout.
Before drywall, photograph every wall with a tape measure visible. Record stud locations, pipes, cables, and blocking heights. Those images are invaluable when mounting shelves or diagnosing a problem years later. After the inspection and close-in work, seal penetrations, finish the drywall, and test the room for temperature and humidity before bringing in furniture.
A basement earns its square footage when its structure supports daily life rather than merely hiding concrete. Approach framing basement walls as a design decision, not a carpentry task in isolation. Solve water first, preserve ceiling height, draw around furniture, and plan the mechanical systems with the rooms. If you want a lower level that can function as an office, lounge, guest space, or workout room without feeling crowded, begin with a measured plan and a phased budget. The right wall is the one that makes the entire basement work better.




No notes yet — write the first one.