Finishing basement walls is less about covering concrete and more about deciding what your lower level needs to become. A media room, office, guest suite, and play area all require different wall locations, lighting, outlets, and sound control. I start every basement project by drawing the room plan before choosing paint or paneling. In an older Chicago home, that sequence often prevents expensive work from being hidden behind a new wall.
The first question is not whether you prefer drywall or wood paneling. It is whether the basement is dry enough, tall enough, and mechanically ready for a finished interior. Walk the perimeter after heavy rain. Look for damp corners, white mineral deposits, peeling paint, rusted fasteners, or a musty smell. A wall finish cannot solve water intrusion. It can conceal it until framing, insulation, and flooring have been damaged.
Solve Moisture Before Building the Wall
Before finishing basement walls, identify how water is reaching the room. Bulk water from cracks or a leaking foundation needs exterior drainage, grading work, crack repair, or a properly designed interior drainage system. A dehumidifier can improve air quality, but it is not a substitute for waterproofing. Aim for a consistently dry environment, with indoor humidity generally kept below 60 percent.
Concrete block and poured concrete can look dry while still transferring moisture vapor. I use a moisture assessment and inspect the foundation at several heights rather than relying on one spot. If the basement has a history of flooding, install or test a sump pump, consider a battery backup, and keep service access clear. Do not frame tightly against a wall that is still wet.
This is also the right stage to plan plumbing and electrical work. A future bathroom, wet bar, or laundry area may require permits, dedicated circuits, shutoff access, and a pump system. Spending $500 to $1,500 on early investigation can protect a much larger investment in framing and finishes.

Choose a Wall Assembly That Can Dry
The safest wall system depends on the foundation and local building requirements, but the basic principle is consistent: insulation should control heat loss without trapping moisture against the foundation. Rigid foam board or closed-cell spray foam can provide a continuous thermal layer, while wood or metal studs create a service cavity for wiring and interior finishes. The exact assembly should follow local code and the product manufacturer's instructions.
Many older basement walls are irregular. Instead of forcing studs into every bump, I often create a straight interior line and use the space behind it for insulation, wiring, and access planning. This costs some floor area, but a clean wall is more valuable than a crooked room that cannot accept standard doors or cabinetry. Leave room around panels, valves, cleanouts, and electrical equipment so maintenance does not require demolition.
For finishing basement walls, ordinary fiberglass batts pressed directly against concrete are a common mistake. They can absorb moisture and lose performance. Similarly, untreated wood framing placed against masonry can develop mold or rot. Use a code-compliant assembly with appropriate separation, treated components where required, and a deliberate path for drying.
Drywall, Paneling, or Something More Durable?
Standard drywall remains the most economical finish for a basement ceiling and upper wall areas. It creates a familiar surface, accepts paint easily, and can cost roughly $2 to $4 per square foot installed depending on preparation, access, and finish level. In a busy family room, I prefer moisture-resistant drywall in appropriate locations, but no drywall product should be treated as waterproof.
PVC panels, fiber-cement panels, and high-quality laminate systems can make sense near a utility sink, bathroom, or exercise area. They cost more, often around $5 to $12 per square foot installed, but provide better resistance to dents and occasional splashes. Painted plywood can add warmth in a workshop or home gym, provided the material and fasteners are suitable for the environment.
The best approach to finishing basement walls often combines materials. Use painted drywall in the main seating area, a wood slat acoustic panel behind a television, and a more durable panel near the bar or mudroom. That creates visual hierarchy without turning the entire basement into one expensive feature wall.
Design the Layout Around Wall Thickness
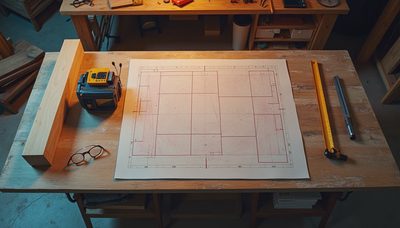
A finished wall assembly can consume four to six inches along a foundation, and more if plumbing or substantial insulation is required. In a 22-by-30-foot basement, that reduction can change furniture placement and circulation. Draw the finished dimensions, not the foundation dimensions. A sofa that fits on paper may block a door once framing, trim, and a radiator are included.
I reserve the darkest perimeter zones for storage, mechanical equipment, and television walls. If the basement has windows, keep those areas open for an office, reading chair, or play table. Do not build a tall cabinet directly in front of a window simply because that wall seems convenient. Daylight is one of the basement's most valuable finishes.
For finishing basement walls around a media room, plan speaker wire, outlets, data cable, and a television recess before drywall. For an office, place outlets above desk height and add a dedicated location for a printer or monitor. A few extra conduits cost little during construction and can prevent visible extension cords later.
Details That Make the Basement Feel Finished
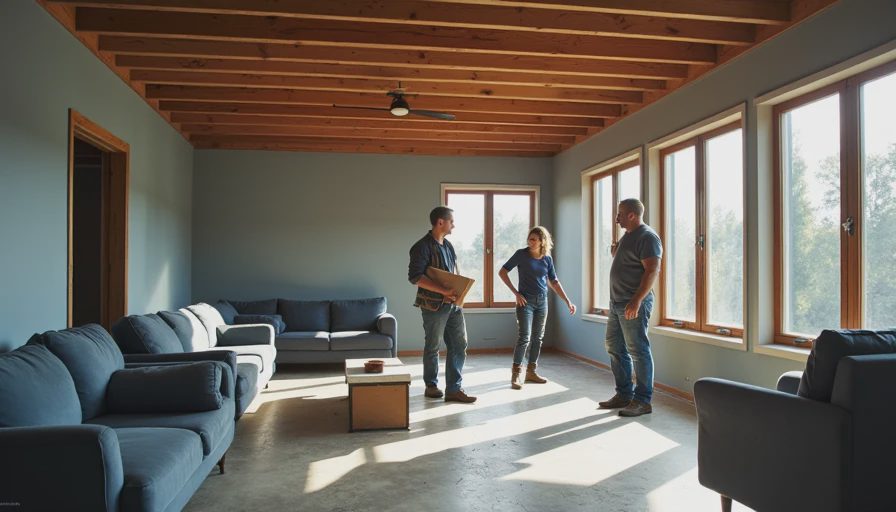
Baseboards, door casings, and lighting determine whether the project feels like a real floor of the house or a renovated utility room. I usually keep trim profiles simple and paint the ceiling a light, warm color rather than defaulting to stark white. Recessed lights should be spaced around furniture, not in a rigid grid that ignores how the rooms will actually be used.
Use acoustic insulation around a home theater, bedroom, or office where privacy matters. Seal penetrations around outlets and pipes to reduce drafts and sound transfer. A solid-core door can improve privacy dramatically compared with a hollow-core door, especially near stairs or mechanical equipment. These are small line items, but they are difficult to add after the walls are closed.
When finishing basement walls, include access panels where the furnace, water heater, shutoff valves, cleanouts, and sump equipment need service. A hidden panel painted to match the wall is better than a permanently sealed cavity. Leave a clear path to the electrical panel and keep required working space open.
A Phased Plan Can Be the Smart Plan
You do not have to finish the entire basement at once. Phase one might address water control, insulation, the electrical service, and a durable utility-room wall. Phase two could create a comfortable office and laundry zone. A future phase can add the media room, bar, or guest suite after you understand how the household uses the space.
This approach also protects the budget. Basic finishing basement walls work may range from approximately $8,000 to $20,000 for a modest area, while a full basement renovation with plumbing, custom cabinetry, egress work, and upgraded heating can exceed $60,000. The numbers depend on size and conditions, but separating infrastructure from decorative upgrades makes the spending easier to control.
Before closing any wall, photograph the framing and label every cable, pipe, and valve. Save product information for insulation, panels, paint, and flooring. Then review the plan from the stairs: Can someone carry laundry through it? Can a guest find the bathroom? Can a technician reach the furnace? Good finishing basement walls support those daily movements instead of merely making the foundation disappear.
A basement earns its square footage when the walls are part of a larger plan. Control moisture, draw the finished dimensions, choose materials for each room, and preserve access to the systems that keep the house running. The result can feel calm, durable, and intentional without pretending that a lower level is something it is not.


No notes yet — write the first one.